> ## Documentation Index
> Fetch the complete documentation index at: https://docs.walletconnect.network/llms.txt
> Use this file to discover all available pages before exploring further.
# WalletGuide Submission
Submitting a project to the WalletConnect Dashboard Explorer is recommended but optional. You can still use WalletConnect services without submitting your project.
However, doing so ensures that your project is listed under [WalletGuide](https://walletguide.walletconnect.network/?utm_source=walletconnect-docs\&utm_medium=cloud\&utm_campaign=github) and [Cloud Explorer API](./explorer.md).
## Creating a New Project
First, open the WalletConnect Dashboard by navigating to [dashboard.walletconnect.com](https://dashboard.walletconnect.com/?utm_source=blog\&utm_medium=devrel\&utm_campaign=conversion) and signing in. If you don’t have an account yet, please create one before proceeding.
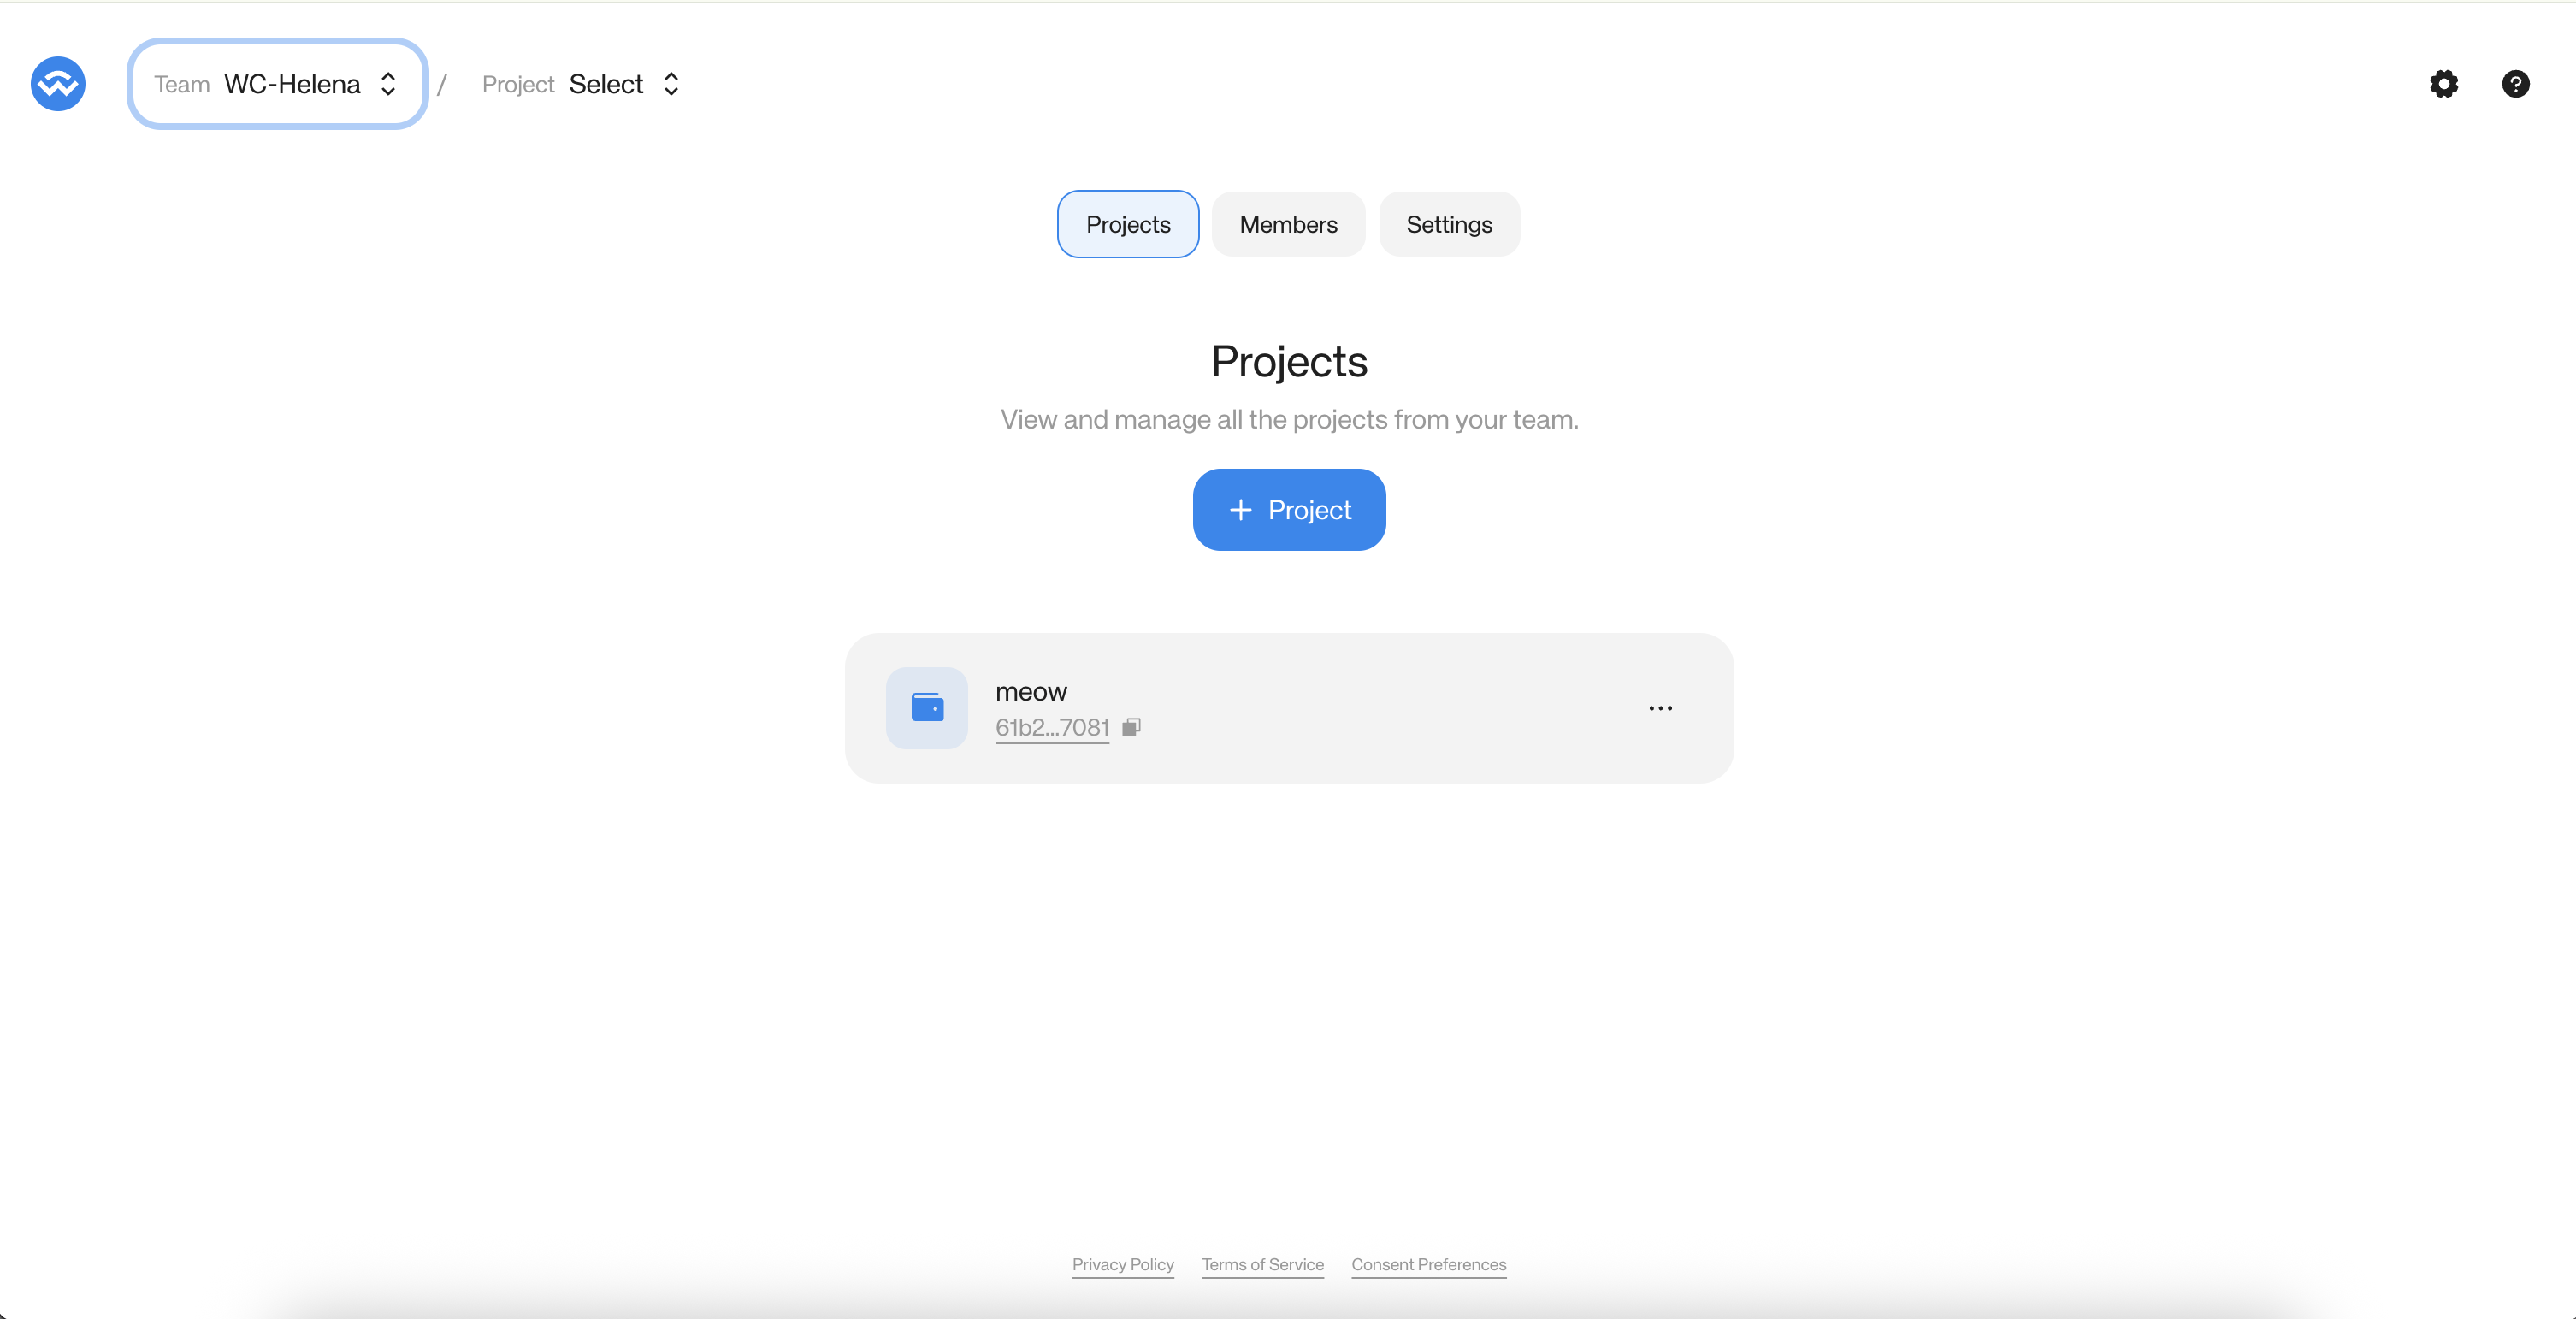
* Once you're logged in, navigate to your team view and click the **"+ Project"** button.
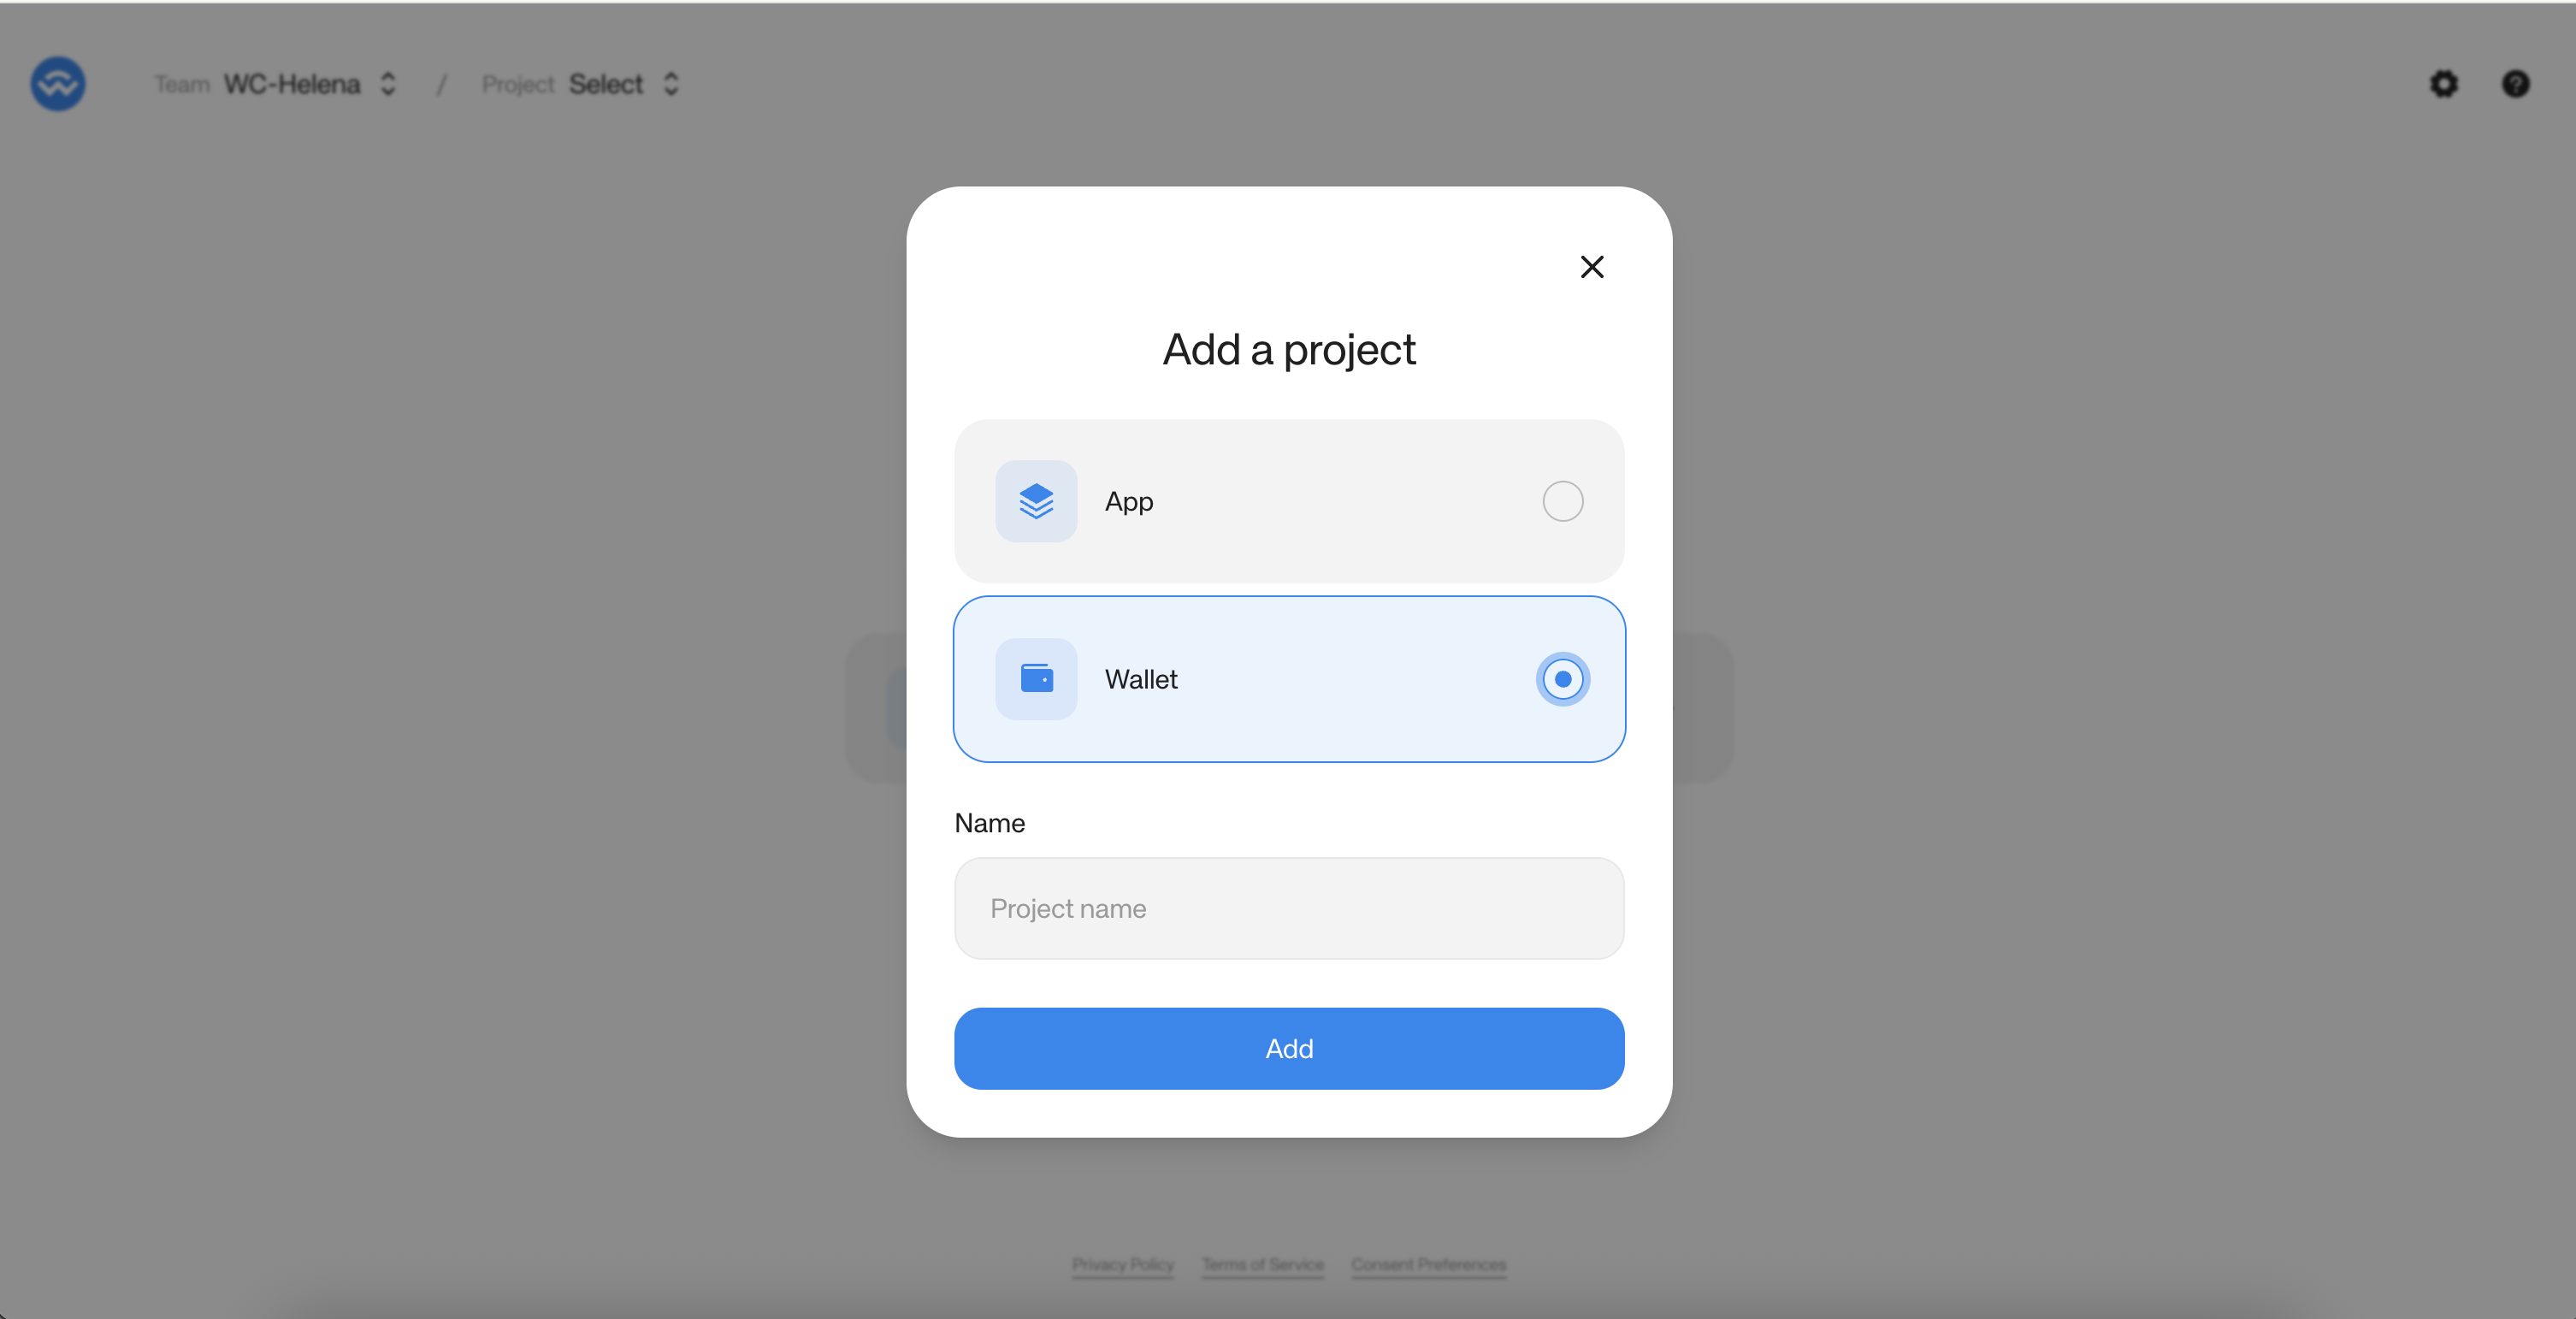
 * Select **"Wallet"**, enter a project name, and click **"Add"**.
 ## Project Details
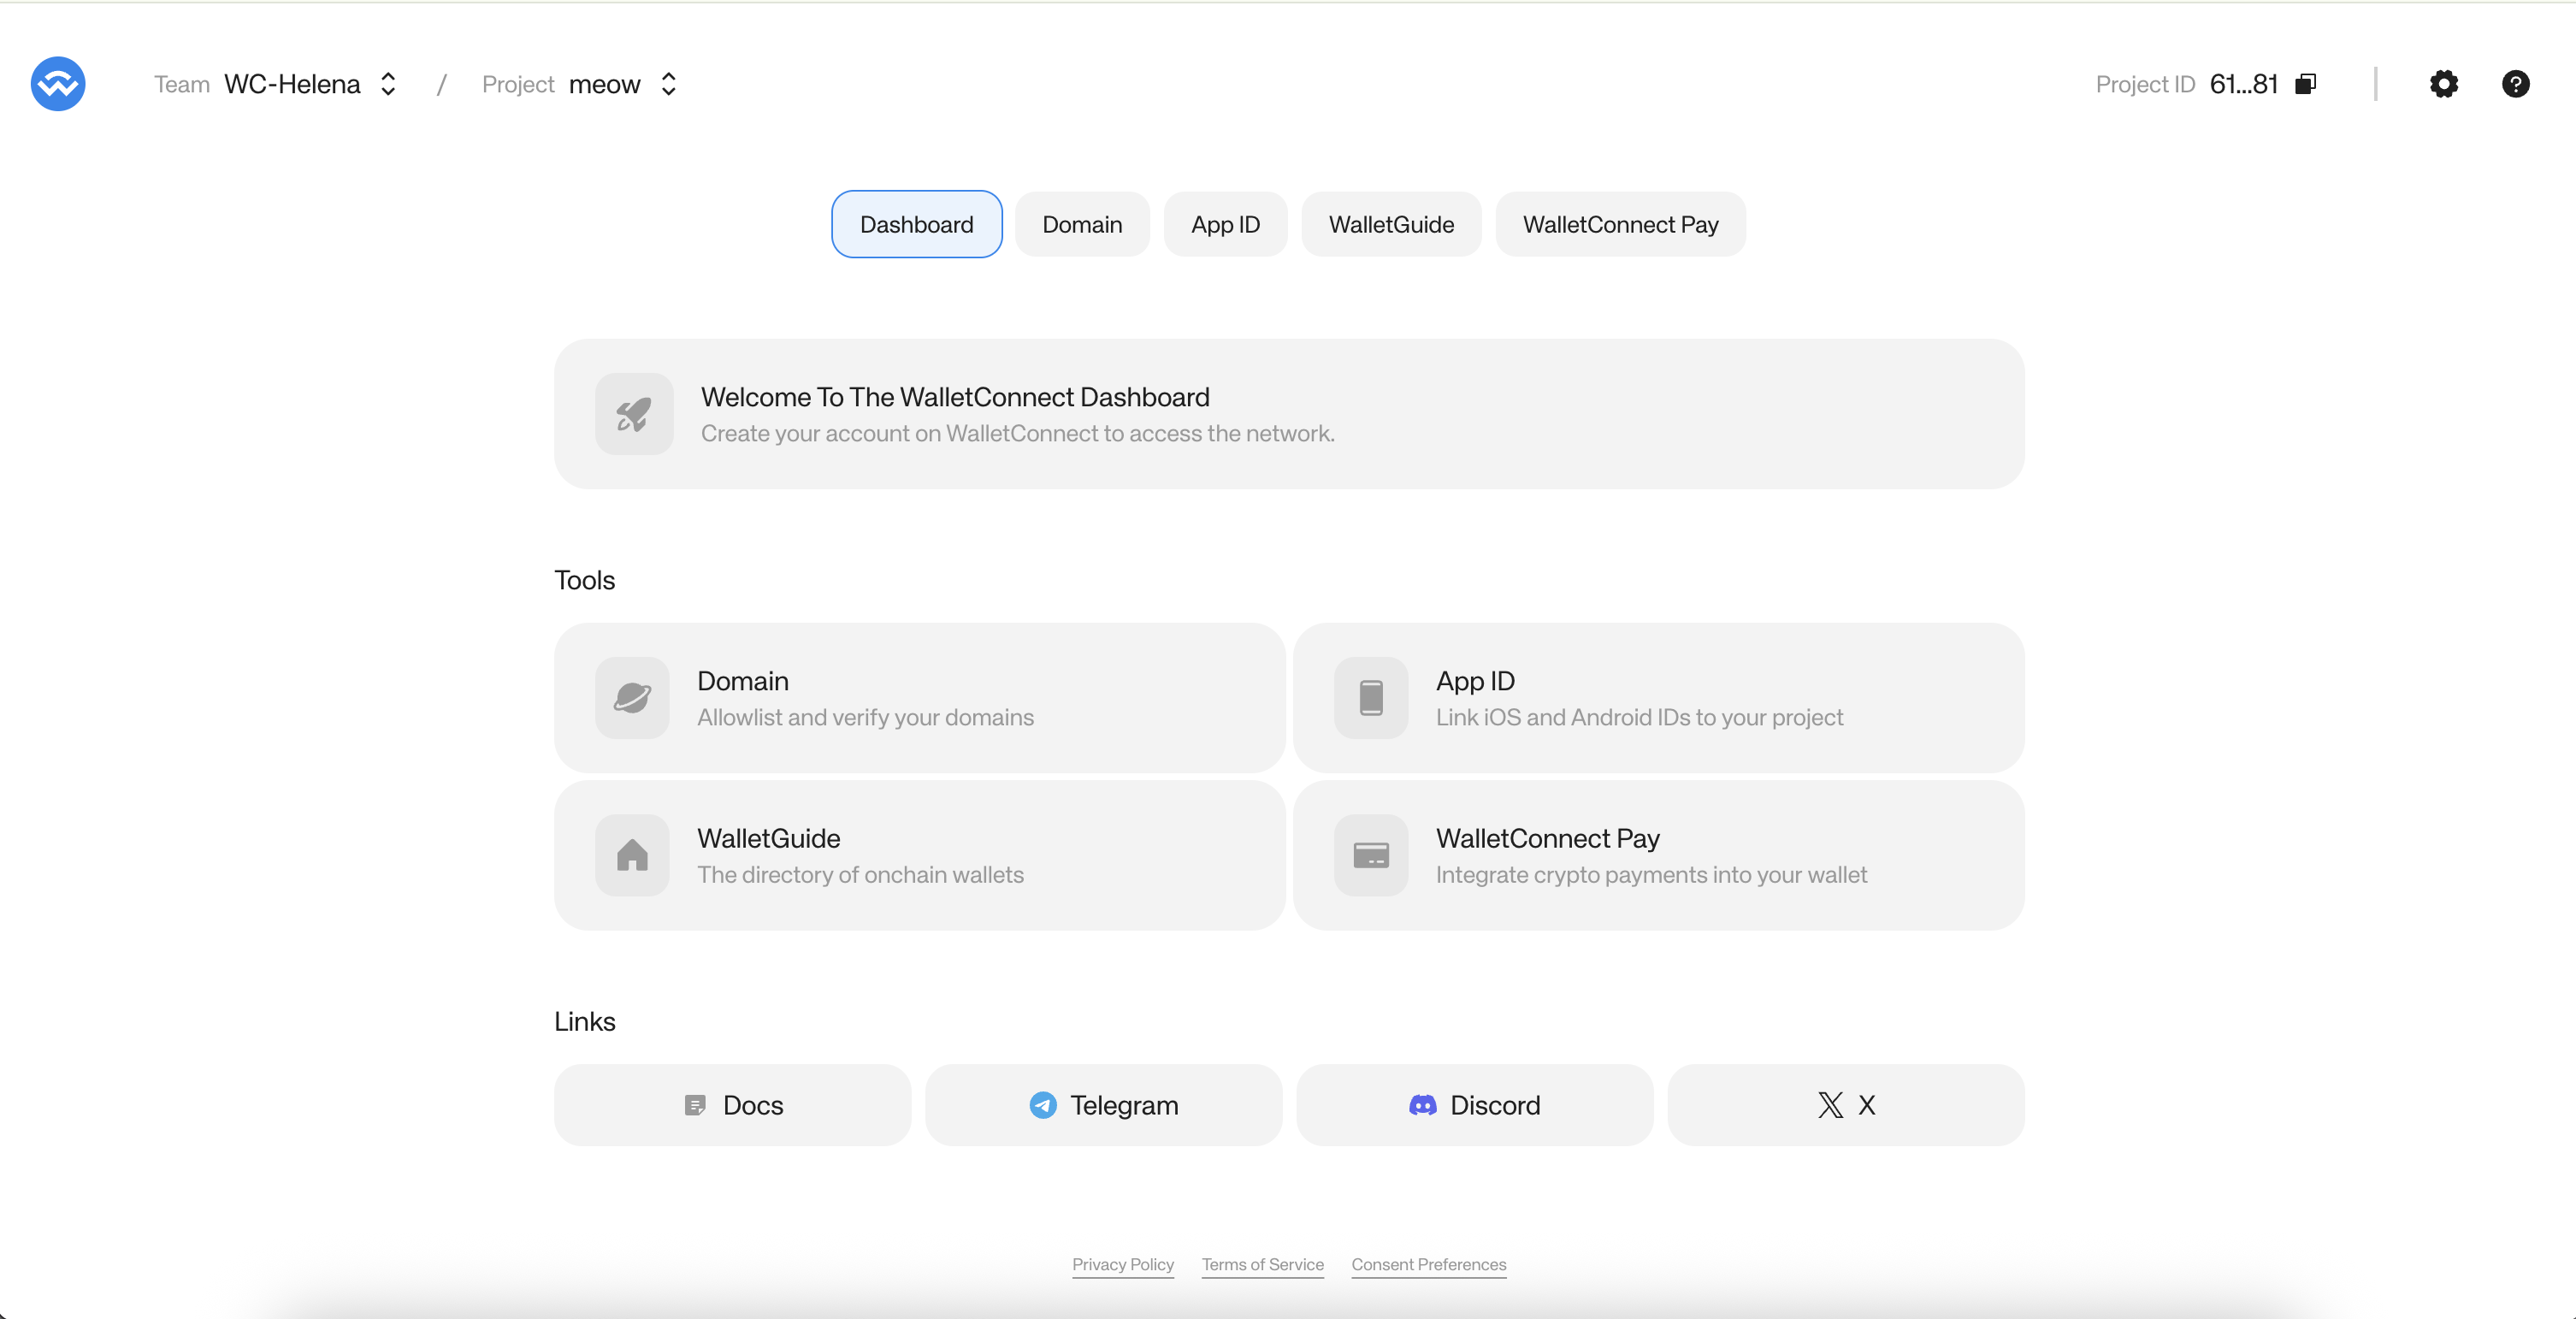
* From the project Dashboard, click on the **"WalletGuide"** tab in the top navigation.
## Project Details
* From the project Dashboard, click on the **"WalletGuide"** tab in the top navigation.
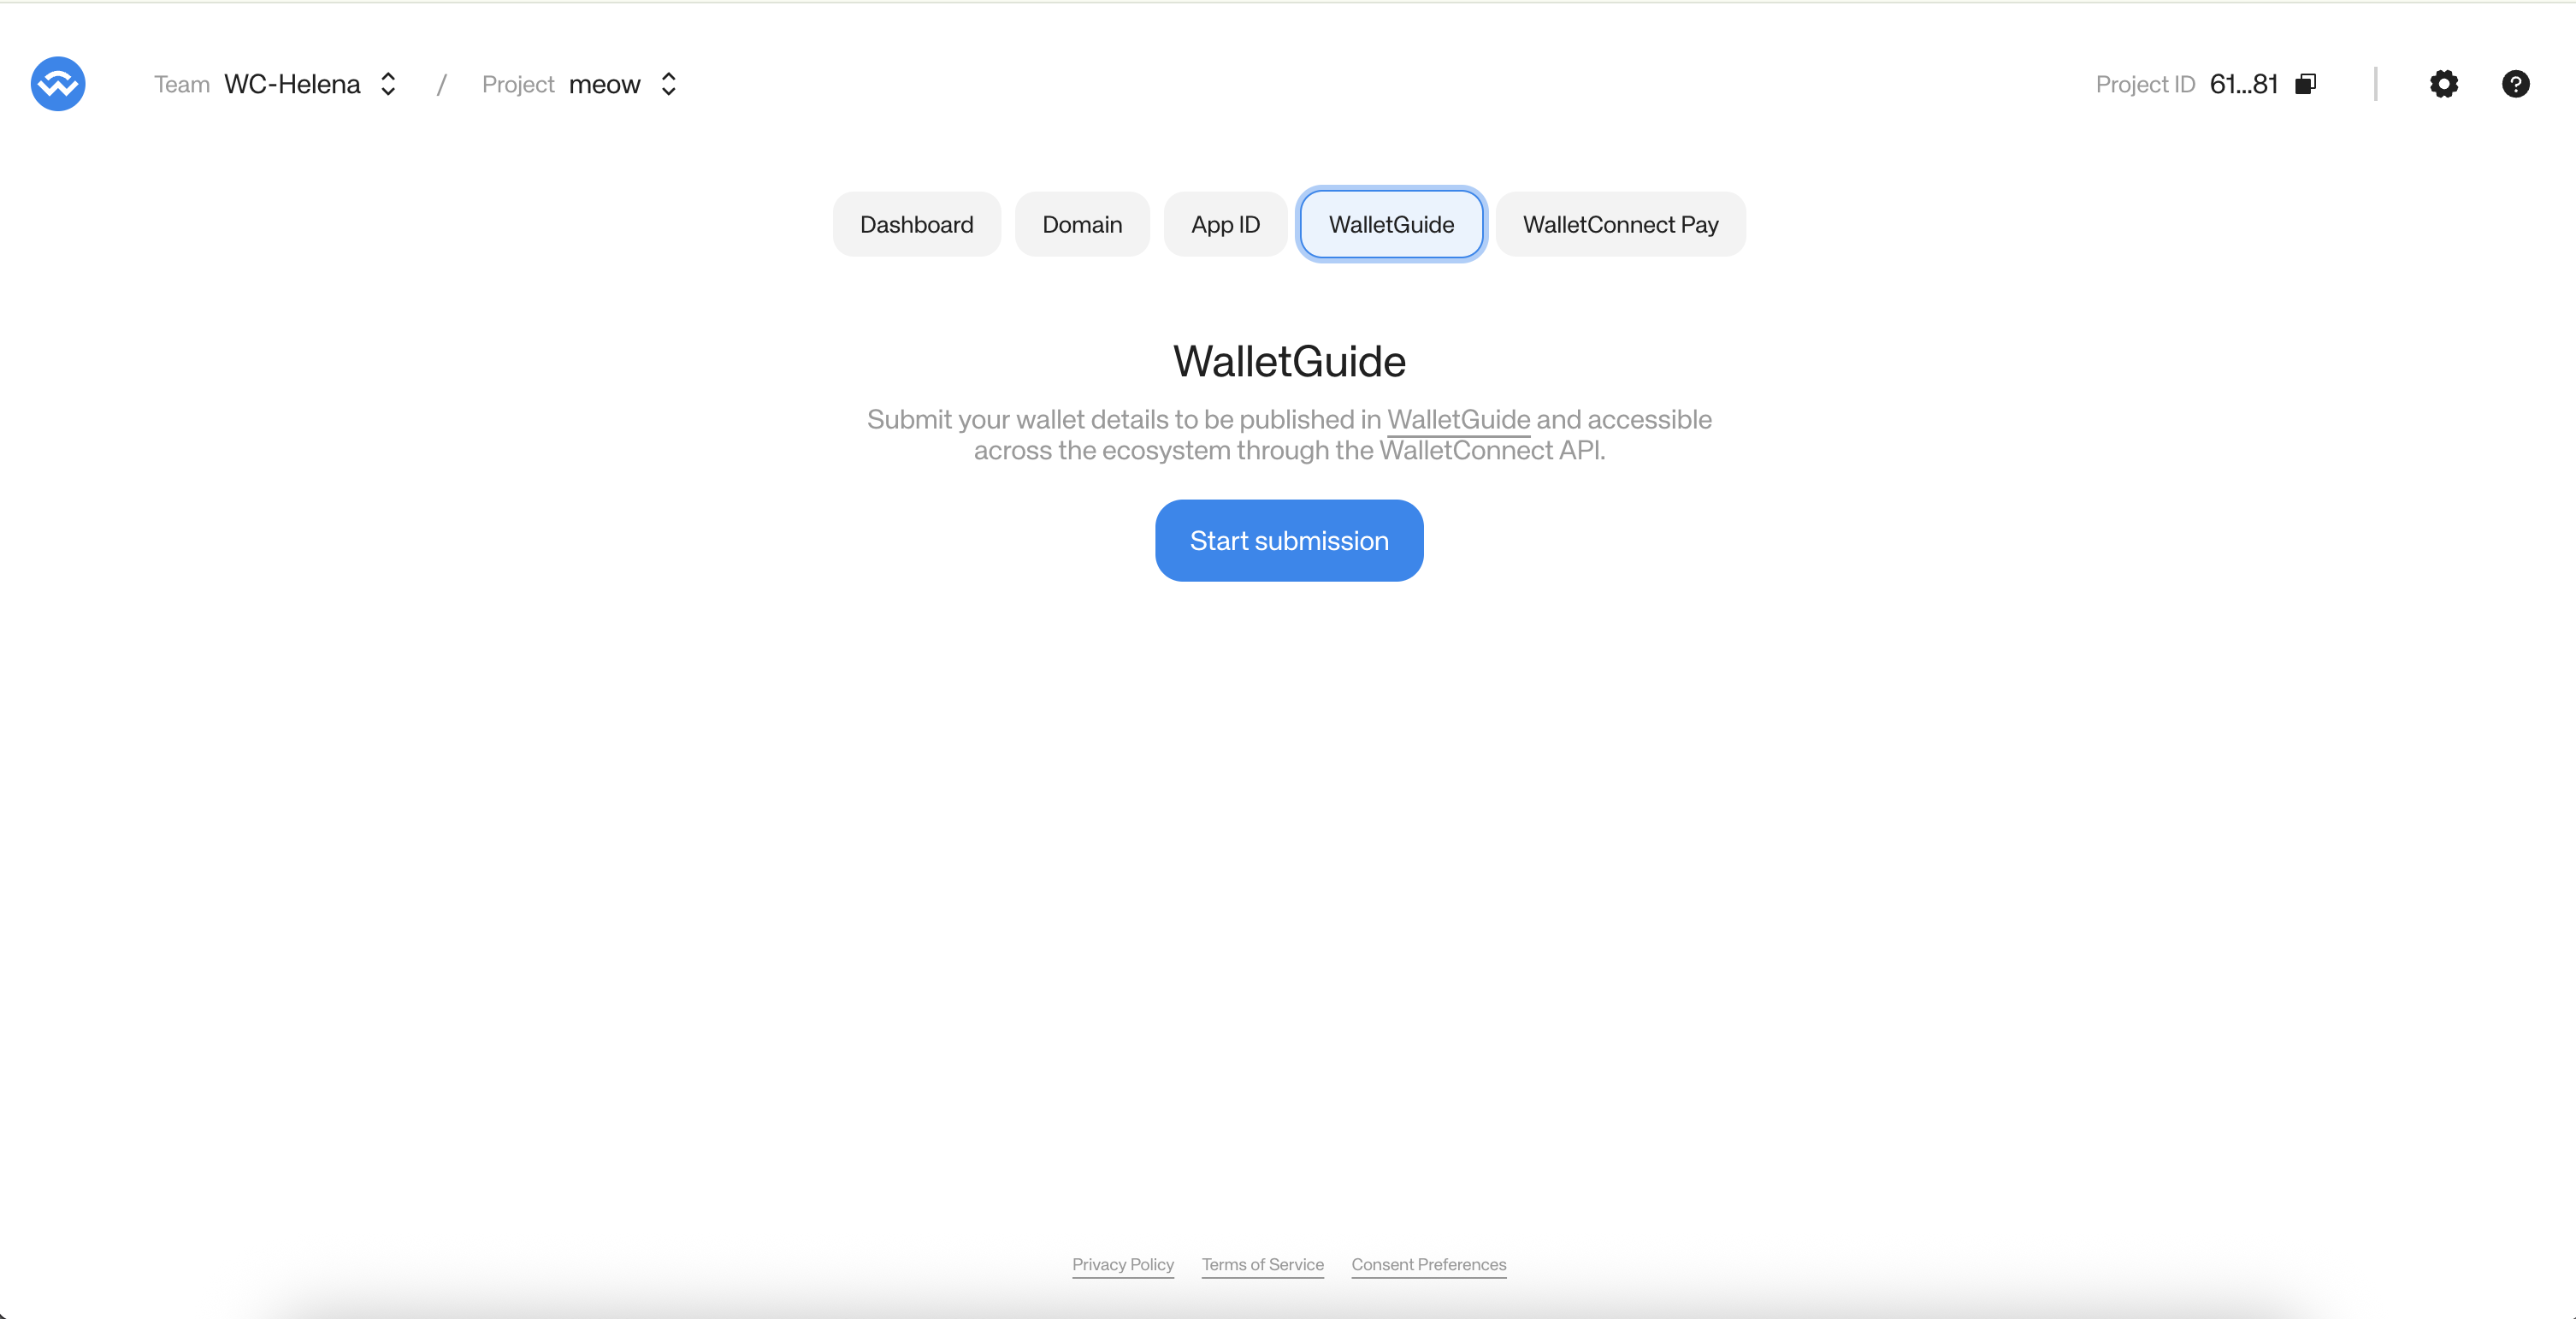
 * Click **"Start submission"** to begin the submission wizard.
 ## Project Submission
The submission is a multi-step wizard. Follow each step to complete your listing:
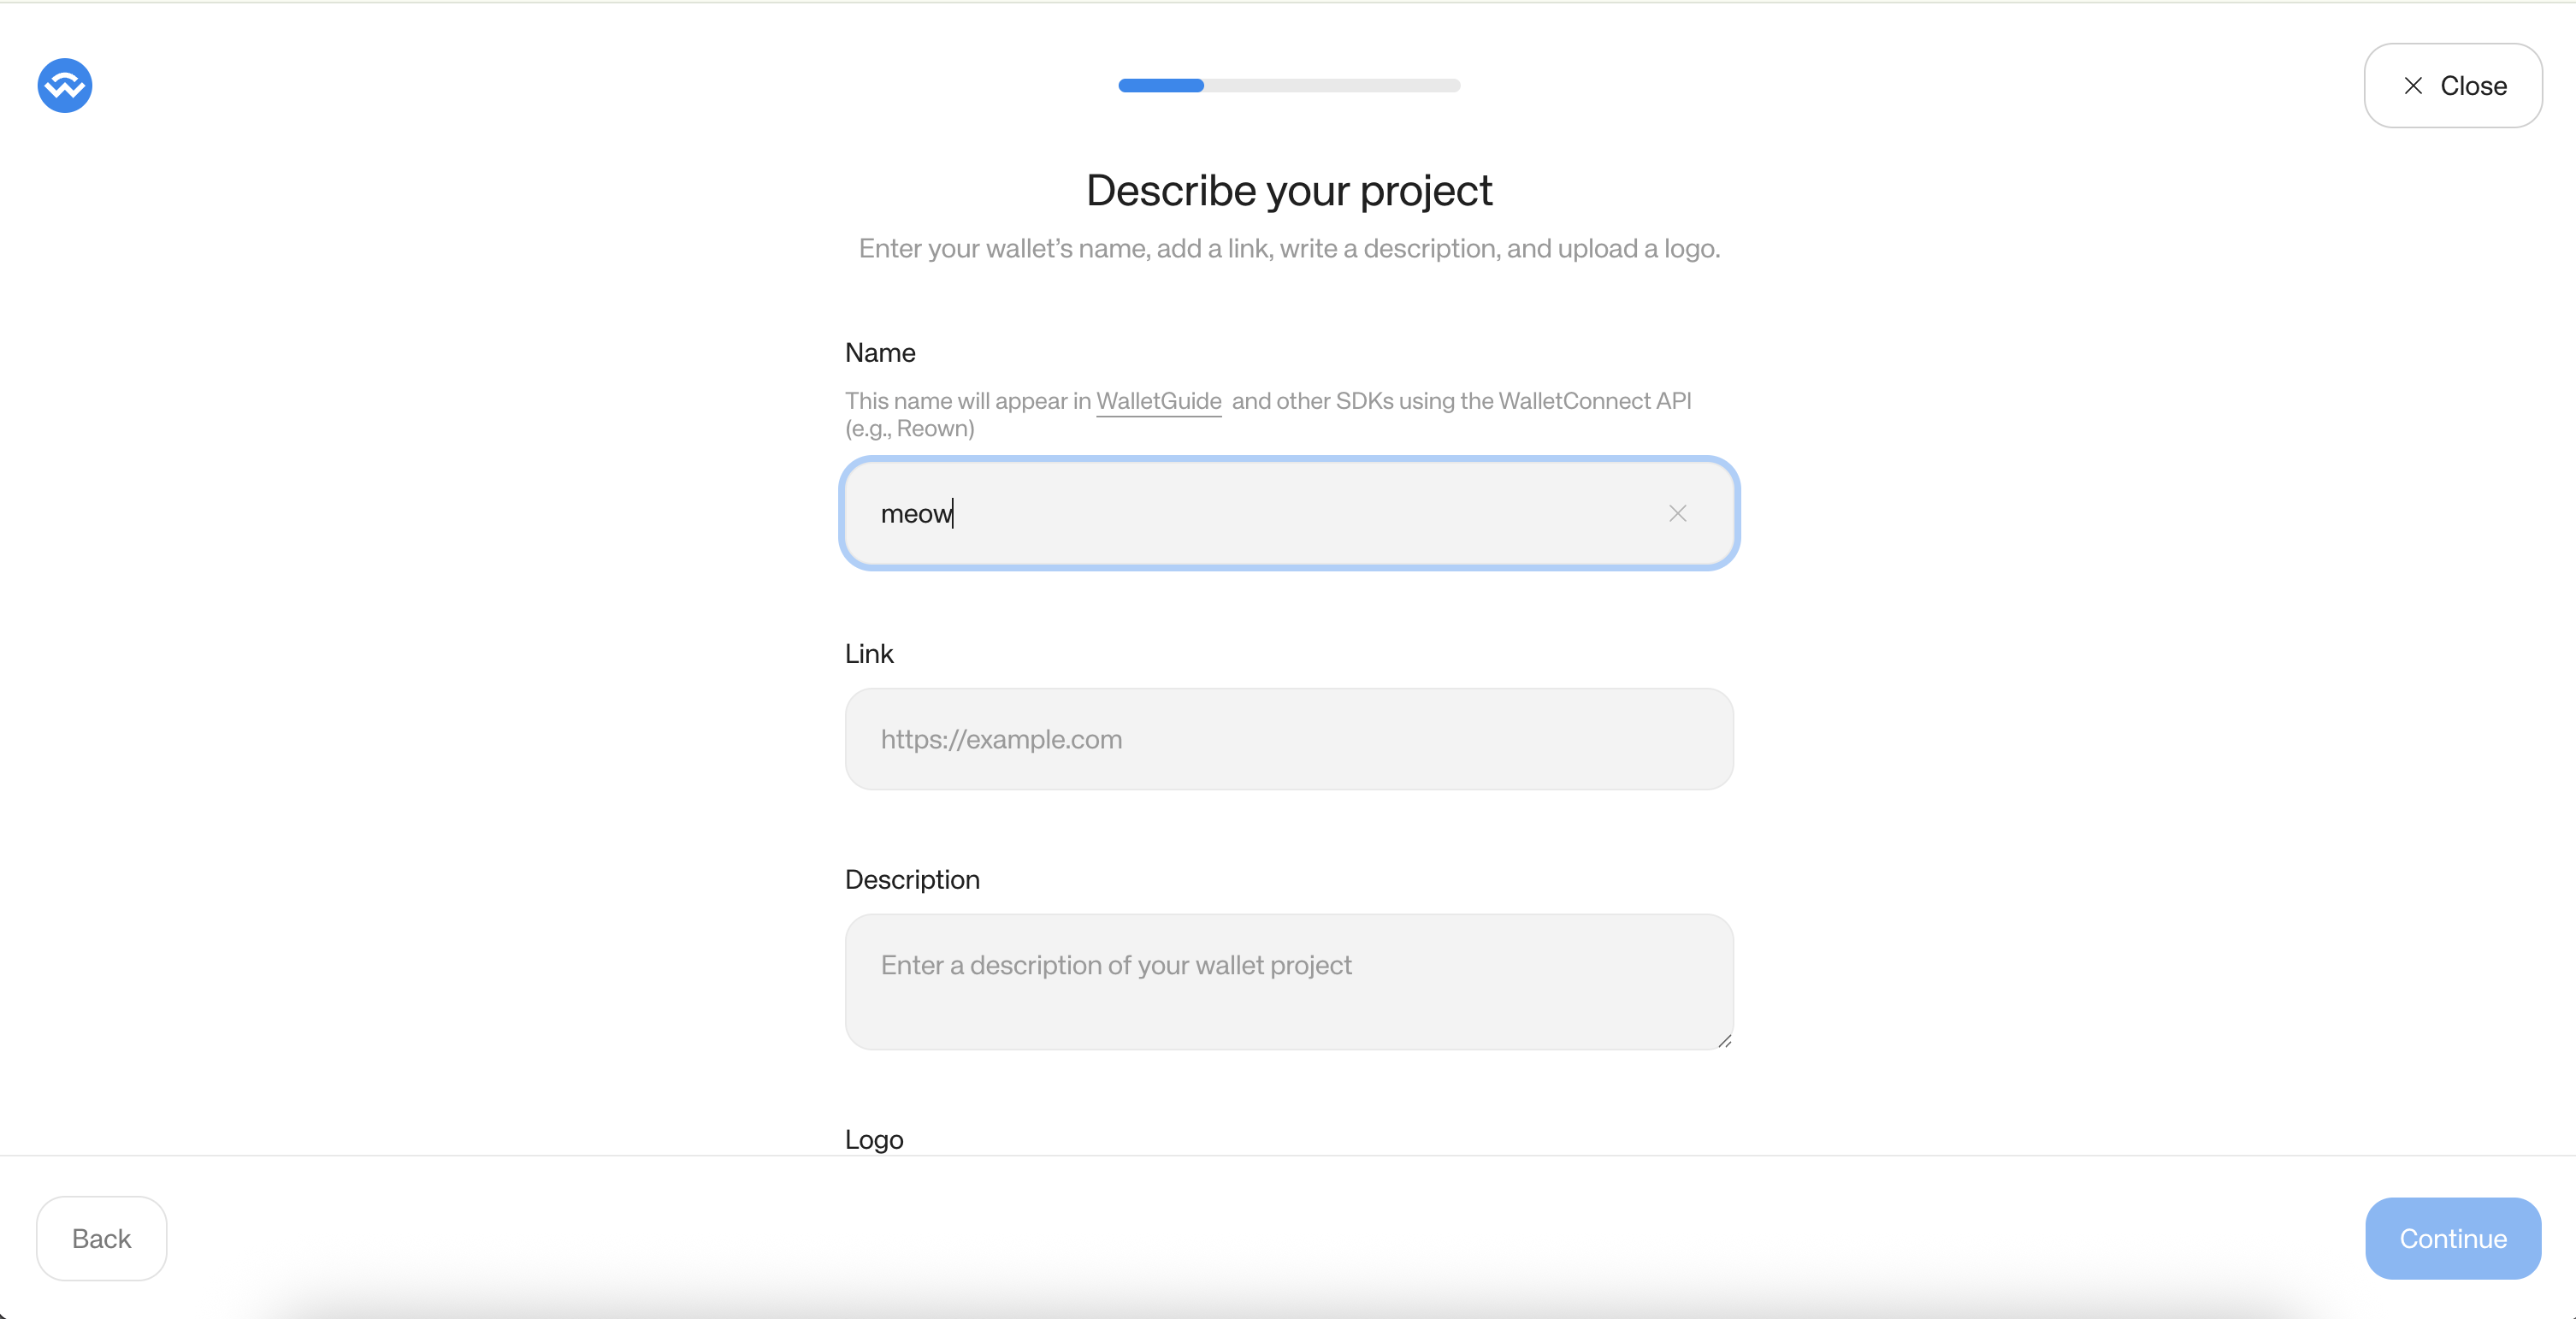
### Step 1 — Describe your project
Fill in your wallet's basic details:
* **Name** — This will appear in WalletGuide and other SDKs using the WalletConnect API
* **Link** — The homepage URL of your project
* **Description** — A short description of your wallet
* **Logo** — Upload your wallet's logo
Click **"Continue"** to proceed.
## Project Submission
The submission is a multi-step wizard. Follow each step to complete your listing:
### Step 1 — Describe your project
Fill in your wallet's basic details:
* **Name** — This will appear in WalletGuide and other SDKs using the WalletConnect API
* **Link** — The homepage URL of your project
* **Description** — A short description of your wallet
* **Logo** — Upload your wallet's logo
Click **"Continue"** to proceed.
 ### Step 2 — Add wallet types
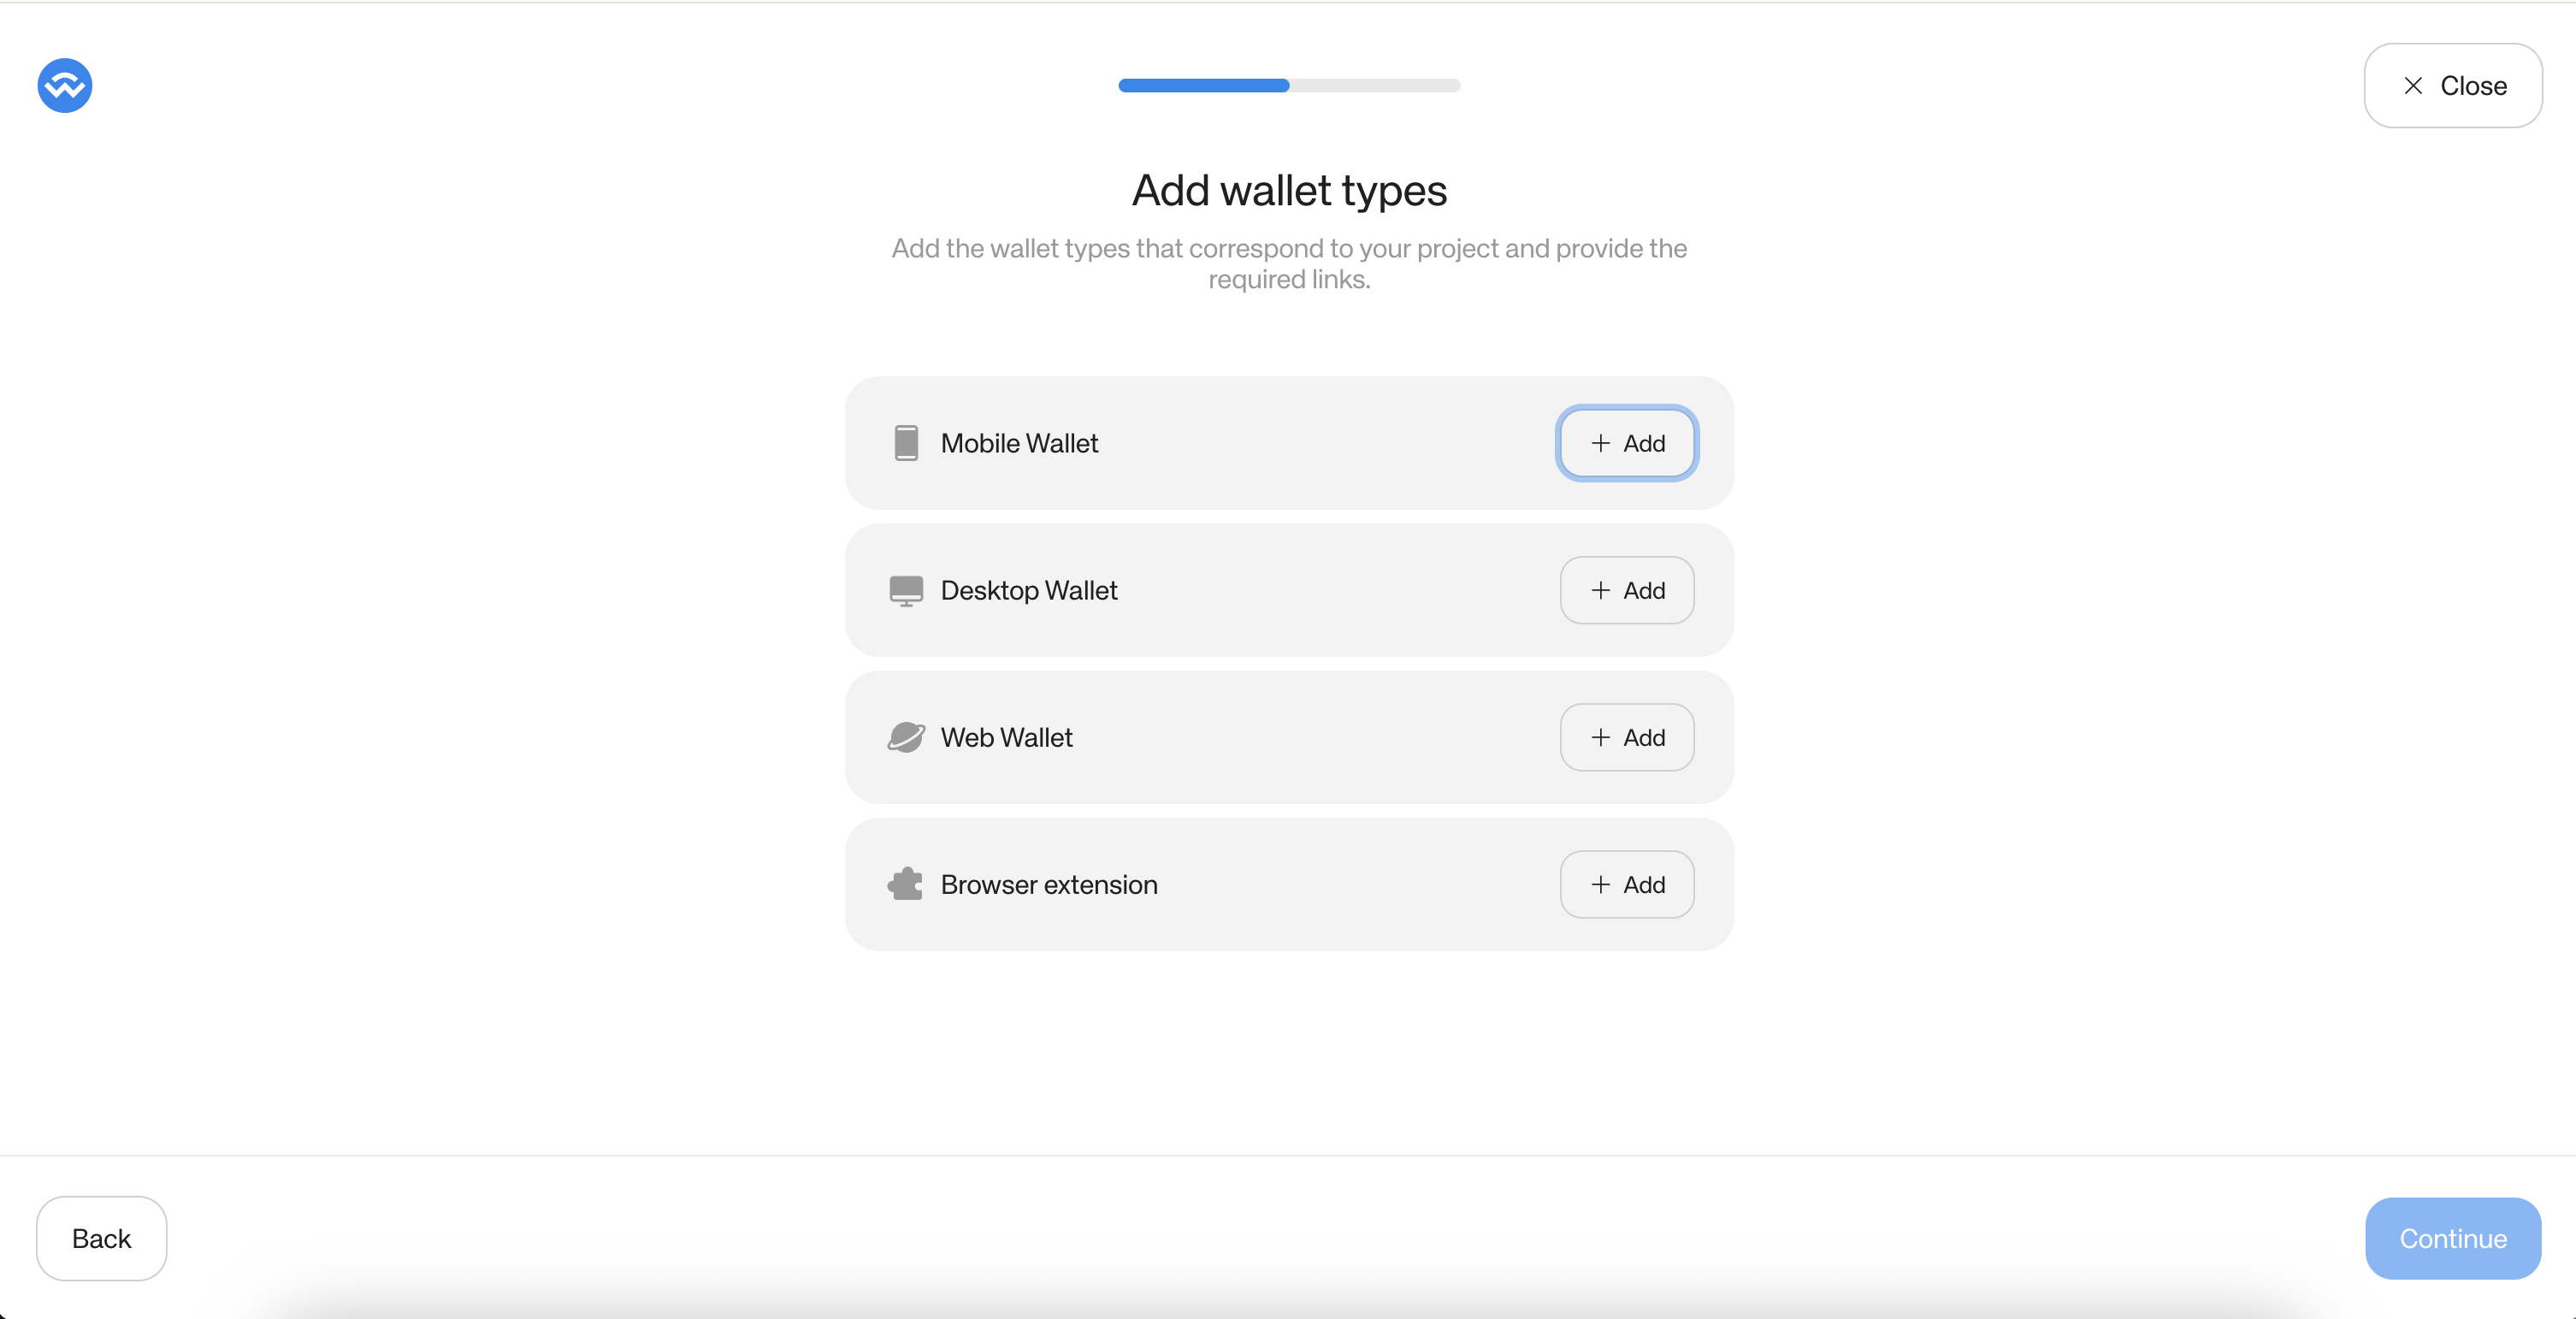
Select the wallet types that apply to your project and provide the required links for each:
* Mobile Wallet
* Desktop Wallet
* Web Wallet
* Browser Extension
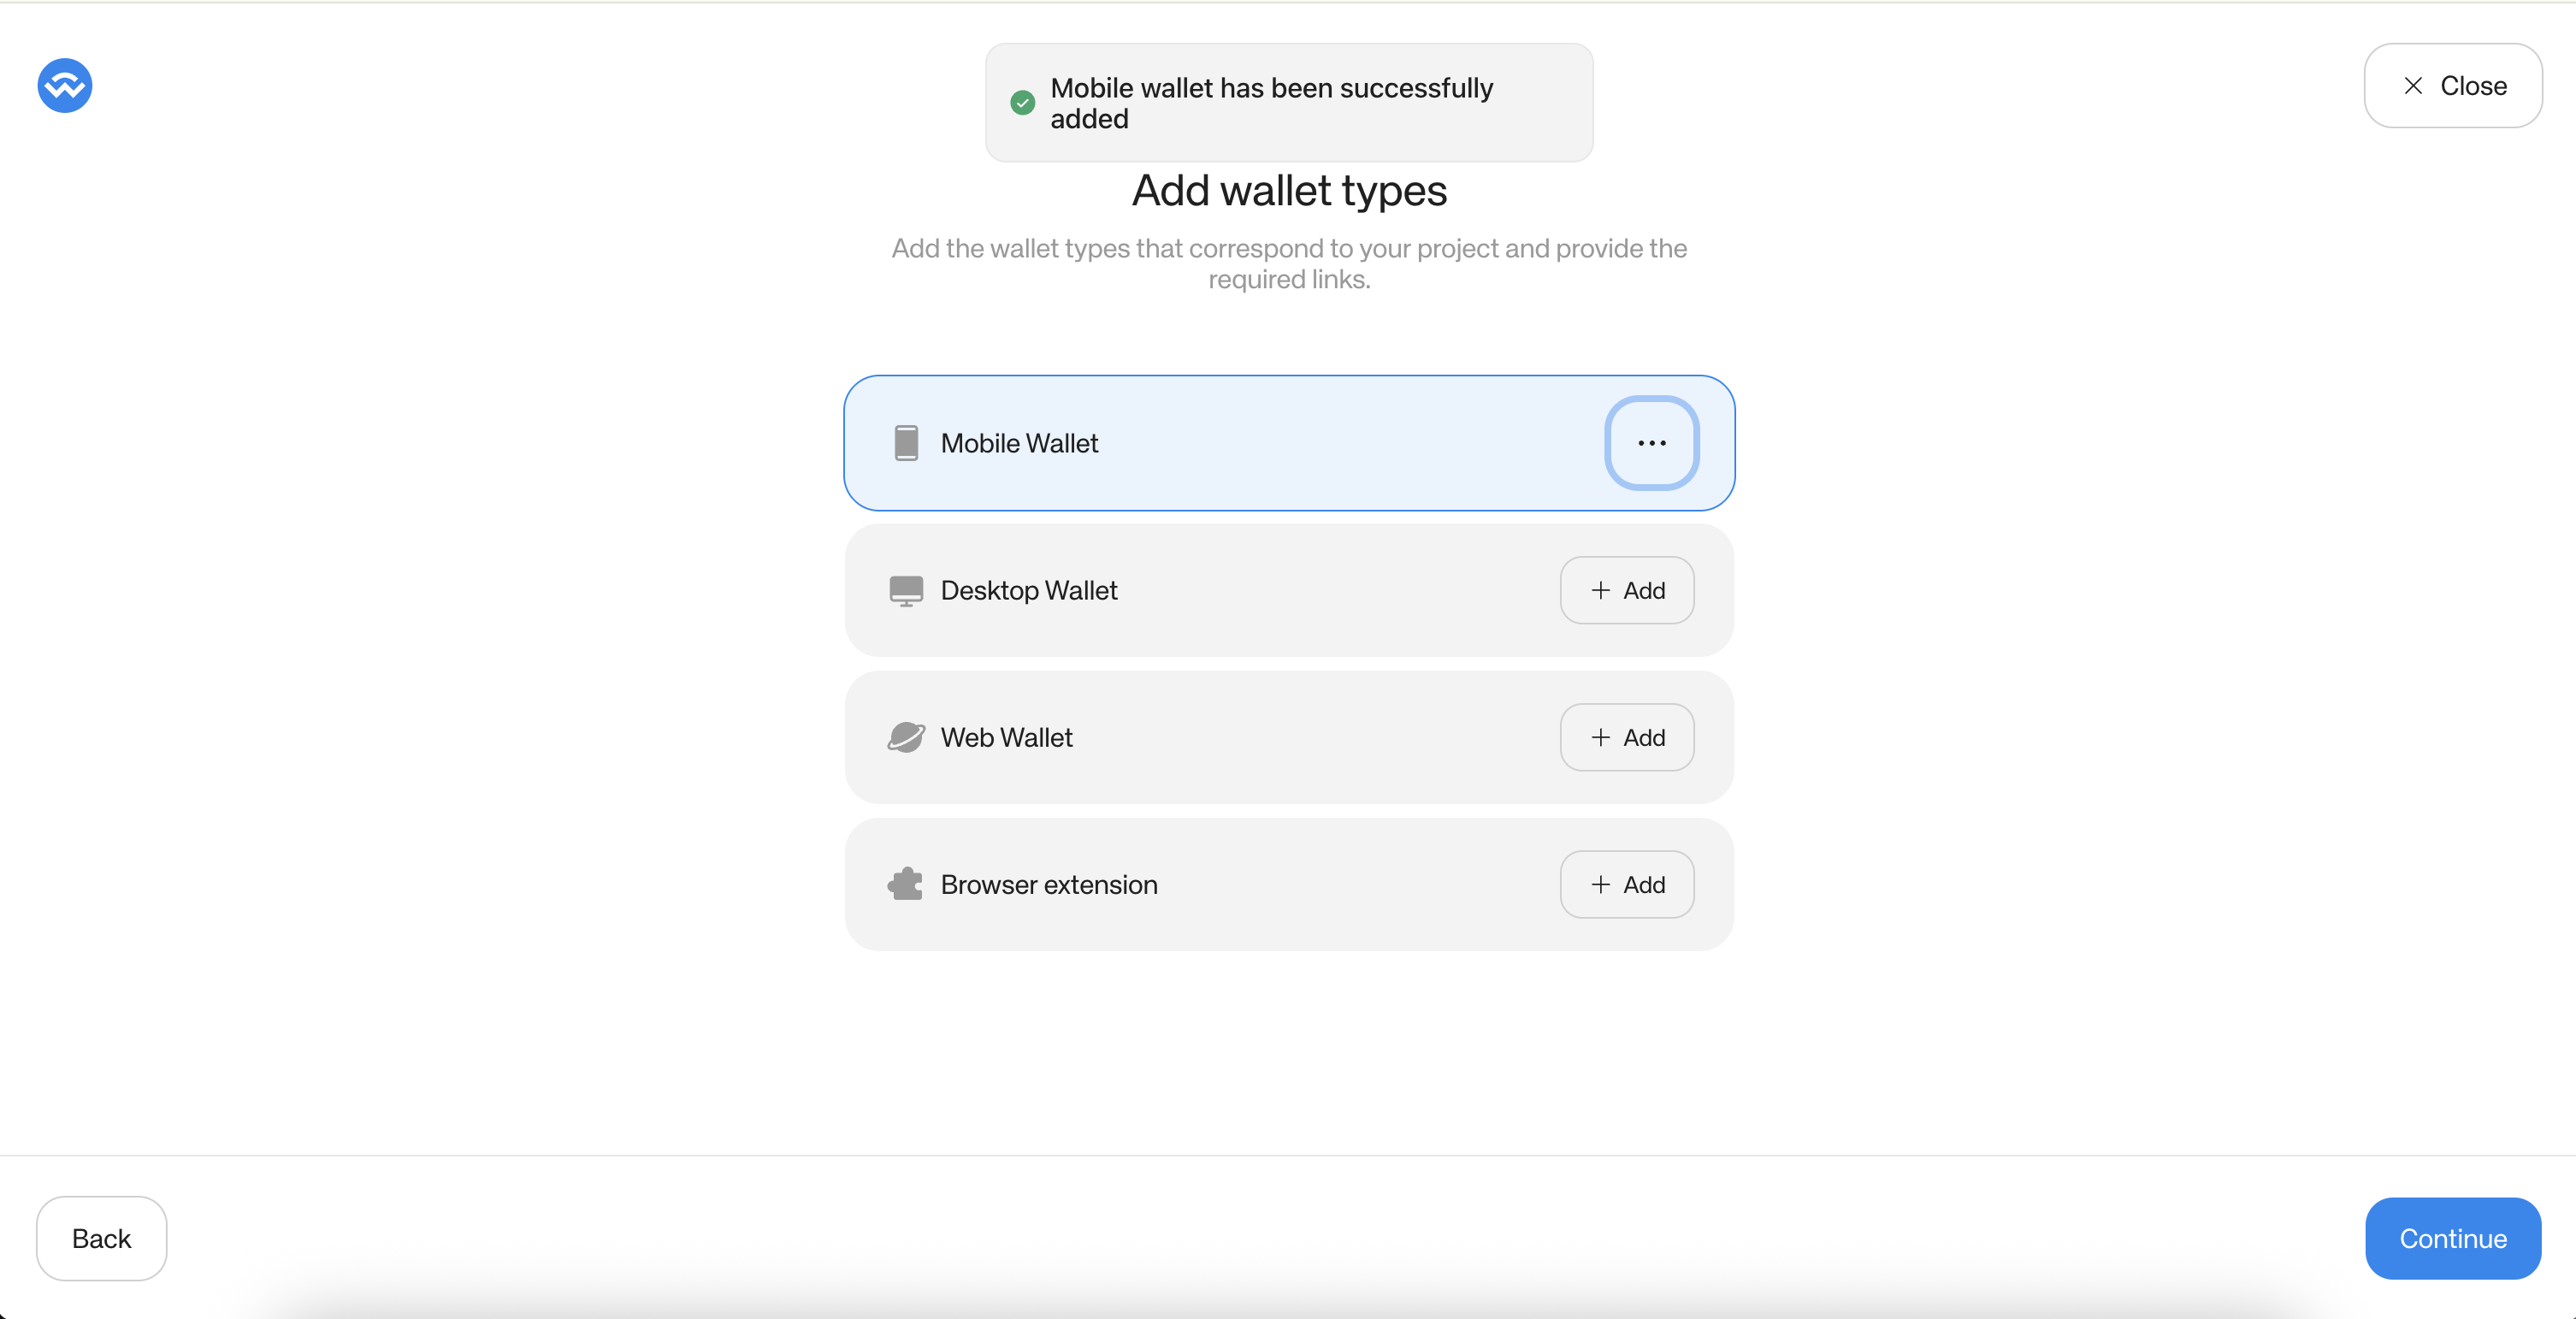
Click **"+ Add"** next to each applicable type to add its details. Click **"Continue"** when done.
### Step 2 — Add wallet types
Select the wallet types that apply to your project and provide the required links for each:
* Mobile Wallet
* Desktop Wallet
* Web Wallet
* Browser Extension
Click **"+ Add"** next to each applicable type to add its details. Click **"Continue"** when done.
 ### Step 3 — Add chains
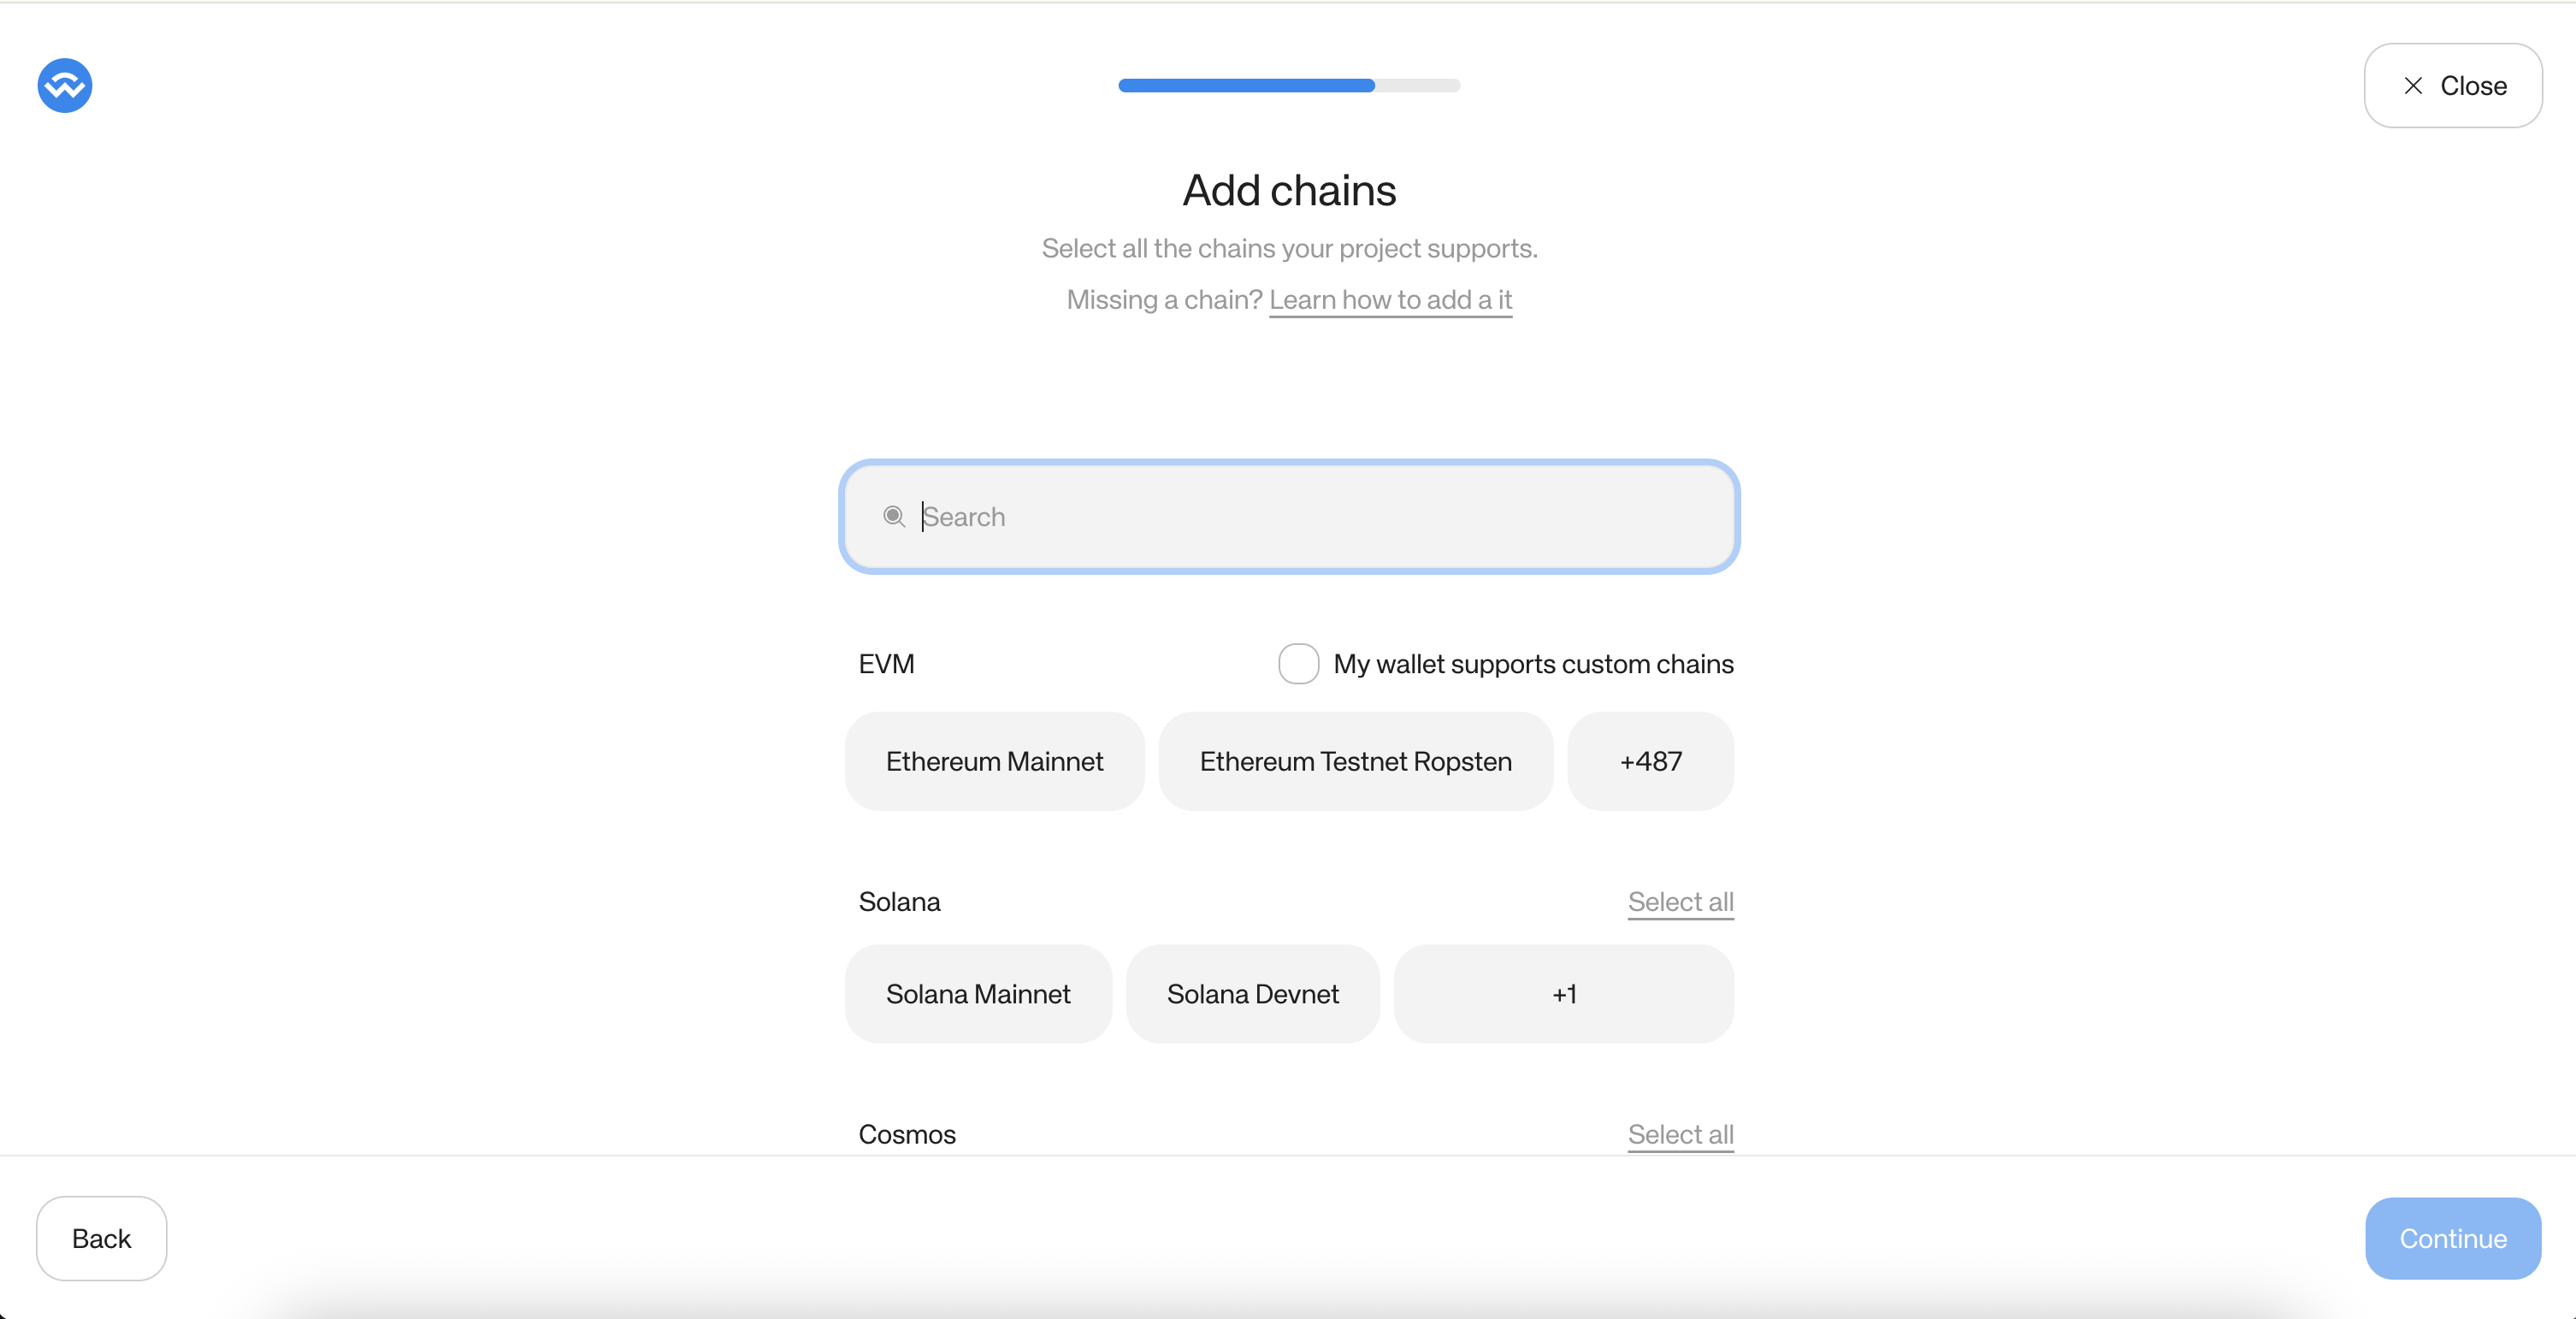
Select all chains your project supports. You can search by name or browse by ecosystem (EVM, Solana, Cosmos, etc.). Toggle **"My wallet supports custom chains"** if applicable.
Click **"Continue"** when done.
### Step 3 — Add chains
Select all chains your project supports. You can search by name or browse by ecosystem (EVM, Solana, Cosmos, etc.). Toggle **"My wallet supports custom chains"** if applicable.
Click **"Continue"** when done.
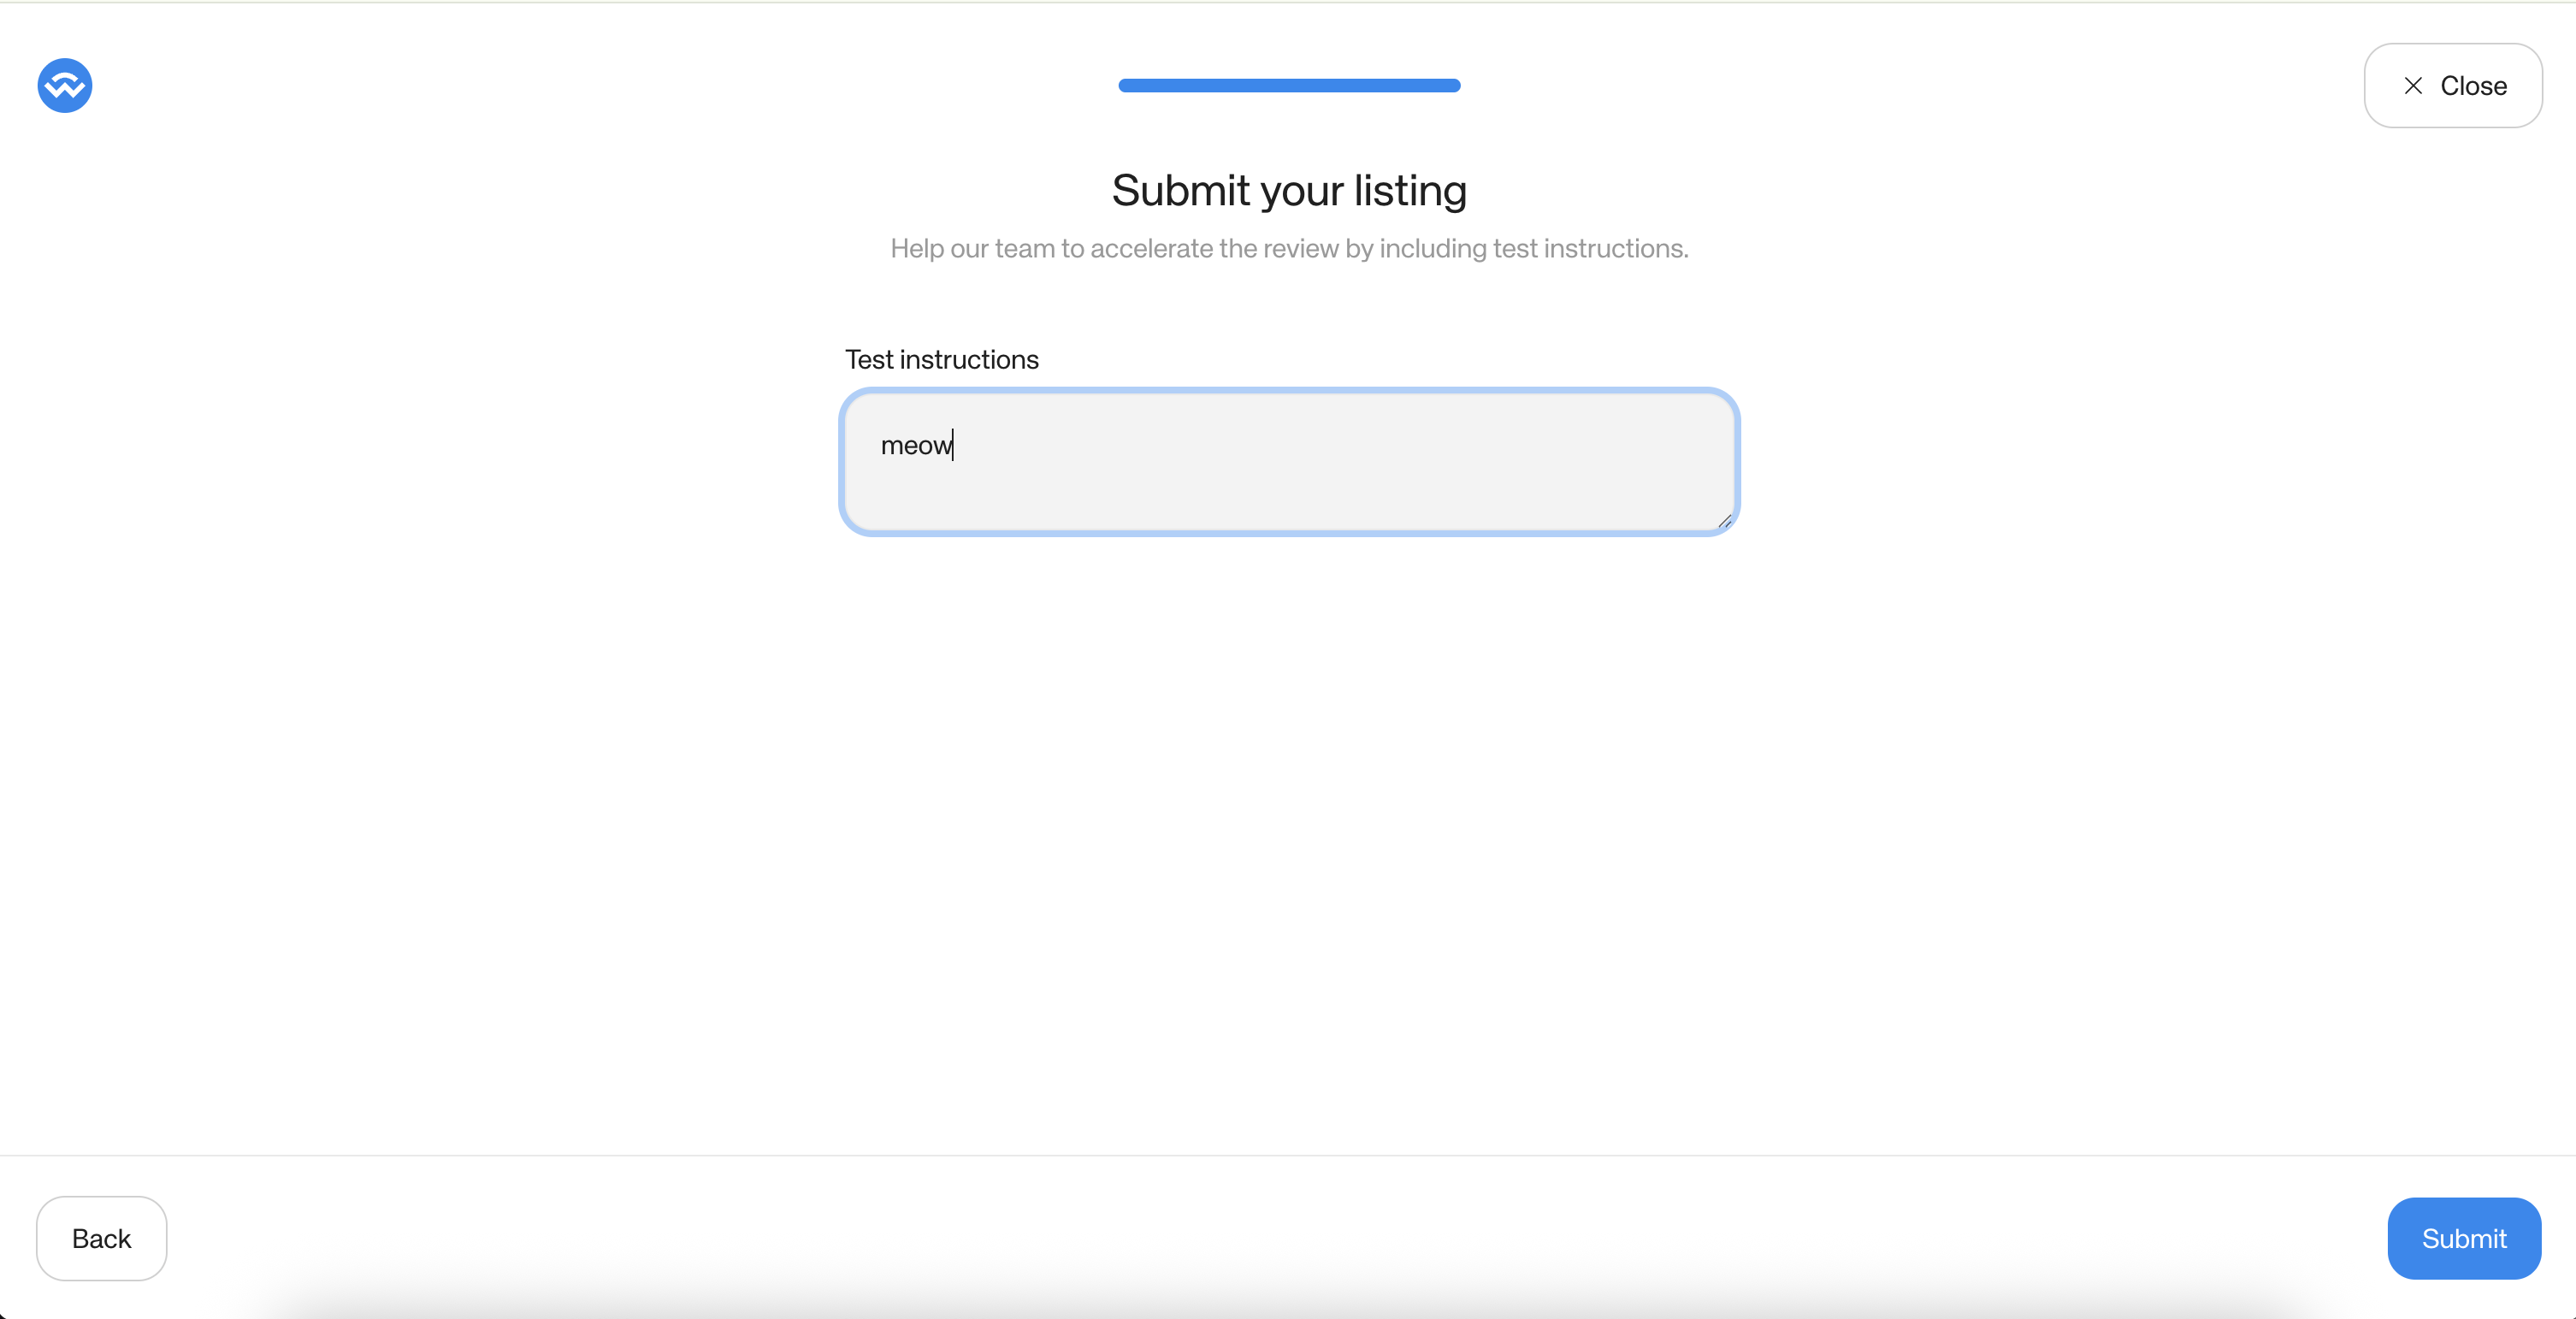
 ### Step 4 — Submit your listing
Add **Test instructions** to help the review team validate your WalletConnect integration. Clear test instructions help accelerate the review process.
Click **"Submit"** to send your listing for review.
### Step 4 — Submit your listing
Add **Test instructions** to help the review team validate your WalletConnect integration. Clear test instructions help accelerate the review process.
Click **"Submit"** to send your listing for review.
 ## Review Timeline
After submitting, your listing will go through a QA review to verify your WalletConnect integration is working correctly.
* **Initial review** takes **7–10 business days** on average. You can track the status in the **WalletGuide** tab of your project — it will show as **"In Review"** while pending.
* **Once approved**, changes take approximately **24 hours** to go live on the production WalletGuide page.
If your submission is not accepted, the reason will be noted in the WalletGuide tab and in the notification email. You can make the necessary changes and resubmit at any time.
## How do we test wallets?
In order to offer a great user experience in our APIs and SDKs every Cloud submission goes through a QA process to make sure that the integration of the WalletConnect protocol is working correctly.
The following list details our QA flow and how to reproduce it:
| Test Case | Steps | Expected Results |
| -------------------------------------------------- | ------------------------------------------------------------------------------------------------------------------------------------------------------------------------------------------------------------------------------------------------------------------------------------------------------------------------ | ----------------------------------------------------------------------------------------------------------------------------------------------------------------------------------------------------------------------------------------------- |
| **Set Up** | 1. Download the wallet
## Review Timeline
After submitting, your listing will go through a QA review to verify your WalletConnect integration is working correctly.
* **Initial review** takes **7–10 business days** on average. You can track the status in the **WalletGuide** tab of your project — it will show as **"In Review"** while pending.
* **Once approved**, changes take approximately **24 hours** to go live on the production WalletGuide page.
If your submission is not accepted, the reason will be noted in the WalletGuide tab and in the notification email. You can make the necessary changes and resubmit at any time.
## How do we test wallets?
In order to offer a great user experience in our APIs and SDKs every Cloud submission goes through a QA process to make sure that the integration of the WalletConnect protocol is working correctly.
The following list details our QA flow and how to reproduce it:
| Test Case | Steps | Expected Results |
| -------------------------------------------------- | ------------------------------------------------------------------------------------------------------------------------------------------------------------------------------------------------------------------------------------------------------------------------------------------------------------------------ | ----------------------------------------------------------------------------------------------------------------------------------------------------------------------------------------------------------------------------------------------- |
| **Set Up** | 1. Download the wallet
2. Install the wallet app
3. Sign up for an account
4. Create one or more accounts | 1. N/A
2. The app is installed
3. I have an account
4. I have one or more accounts |
| **Connect to dapp via web browser** | 1. Open the Reown connection page [appkit-lab.reown.com](https://appkit-lab.reown.com/) from a PC
2. Press "Connect Wallet" and select Reown.
3. Open the wallet app and scan QR code.
4. Accept the connection request. | 1. The app is set up correctly
2. A modal with wallet options appears
3. A QR code is shown and scanned
4. Connection established, wallet data displayed on site |
| **Connect to dapp via mobile browser (Deep-link)** | 1. Open [appkit-lab.reown.com](https://appkit-lab.reown.com/) on mobile.
2. Select a default option (e.g., Wagmi for EVM chains), click "Custom Wallet," enter wallet name and deep link, then add it. Press "Connect Wallet" and select the new wallet.
3. Accept connection request in the wallet app. | 1. N/A
2. A form appears to enter wallet data, new wallet option is visible.
3. User is redirected to the wallet app, sees a connection request, and successfully connects. On Android, user is redirected back to the website. |
| **Switch chains - dapp side** | 1. After connecting, click the modal button (top right of website).
2. Click the first button in the modal to switch chains.
3. Select a chain, close the modal, and press "Send Transaction." | 1. Modal with account info appears.
2. A new view with supported chains appears.
3. The transaction request in the wallet shows the correct chain. |
| **Switch Chains - wallet side (if supported)** | 1. Check if wallet supports chain switching. If so, switch to a different chain. | 1. The chain change is reflected on the website. The first card displays the current chain ID. |
| **Accounts Switching - wallet side** | 1. Switch accounts in the wallet app. | 1. The account switch is reflected in the modal’s account view on the website. |
| **Disconnect a wallet** | 1. Press "Disconnect" in the Wallet App (if available).
2. Alternatively, press "Disconnect" from the dApp. | 1. The session disappears from both the dApp and Wallet App.
2. The session disappears from both the dApp and Wallet App. |
| **Verify API** | 1. Open [malicious-app-verify-simulation.vercel.app](https://malicious-app-verify-simulation.vercel.app/).
2. Select a wallet-supported chain, press "Connect."
3. Scan the QR code with the wallet. | 1. N/A
2. A QR code modal appears.
3. The wallet flags the site as malicious. |
### Chain Specific
The following test cases only apply for wallets supporting a particular set of chains.
| Test Case | Steps | Expected Results |
| ------------------------------------- | ---------------------------------------------------------------------------------------------------------------------- | ------------------------------------------------------------------------------------------------------------------------------------------------------- |
| **Supporting personal\_sign** | 1. Connect the wallet.
2. Press the “Sign Message” button.
3. Accept the signature request on the wallet. | 1. N/A
2. A modal should popup on the wallet app requesting a signature.
3. Once accepted and signed, the hash should show up on the website. |
| **Supporting eth\_signTypedData\_v4** | 1. Connect the wallet.
2. Press the “Sign Typed Data” button.
3. Accept the signature request on the wallet. | 1. N/A
2. A modal should popup on the wallet app requesting a signature.
3. Once accepted and signed, the hash should show up on the website. |
| **Supporting eth\_sendTransaction** | 1. Connect the wallet.
2. Press the “Send Transaction” button. | 1. N/A
2. A modal should popup on the wallet app requesting a signature. |
| Test Case | Steps | Expected Results |
| -------------------------------------- | --------------------------------------------------------------------------------------------------------------------------------------------------------------------------------------------------------------------------------- | --------------------------------------------------------------------------------------------------------------------------------------------------------- |
| **Supporting solana\_signMessage** | 1. Connect the wallet to [appkit-lab.reown.com/appkit/?name=solana](https://appkit-lab.reown.com/appkit/?name=solana).
2. Press the "Sign Message" button.
3. Accept the signature request on the wallet. | 1. N/A.
2. A modal should pop up on the wallet app requesting a signature.
3. Once accepted and signed, the hash should show up on the website. |
| **Supporting solana\_signTransaction** | 1. Connect the wallet to [appkit-lab.reown.com/appkit/?name=solana](https://appkit-lab.reown.com/appkit/?name=solana).
2. Press the "Sign Transaction" button.
3. Accept the signature request on the wallet. | 1. N/A.
2. A modal should pop up on the wallet app requesting a signature.
3. Once accepted and signed, the hash should show up on the website. |
| **Supporting v0 Transactions** | 1. Connect the wallet to [appkit-lab.reown.com/appkit/?name=solana](https://appkit-lab.reown.com/appkit/?name=solana).
2. Press the "Sign Versioned Transaction" button.
3. Accept the signature request on the wallet. | 1. N/A.
2. A modal should pop up on the wallet app requesting a signature.
3. Once accepted and signed, the hash should show up on the website. |
## FAQ
You should set the EIP-6963 RDNS (Reverse Domain Name System) value of your wallet.
This value uniquely identifies your wallet and allows us to properly detect and discover it when it is installed in the user's browser.
In the context of a browser extension, the reverse domain (RDNS):
* Serves as a unique identifier for your wallet
* Enables wallet discovery via the EIP-6963 standard
* Allows our system to detect when your wallet extension is installed
Without the correct RDNS value, your wallet may not be discoverable.
## What's Next?
Now depending on whether or not your submission met all parameters, you will receive an email from the WalletConnect team with the status of your submission. The **WalletGuide** tab of your project will also reflect the current status.
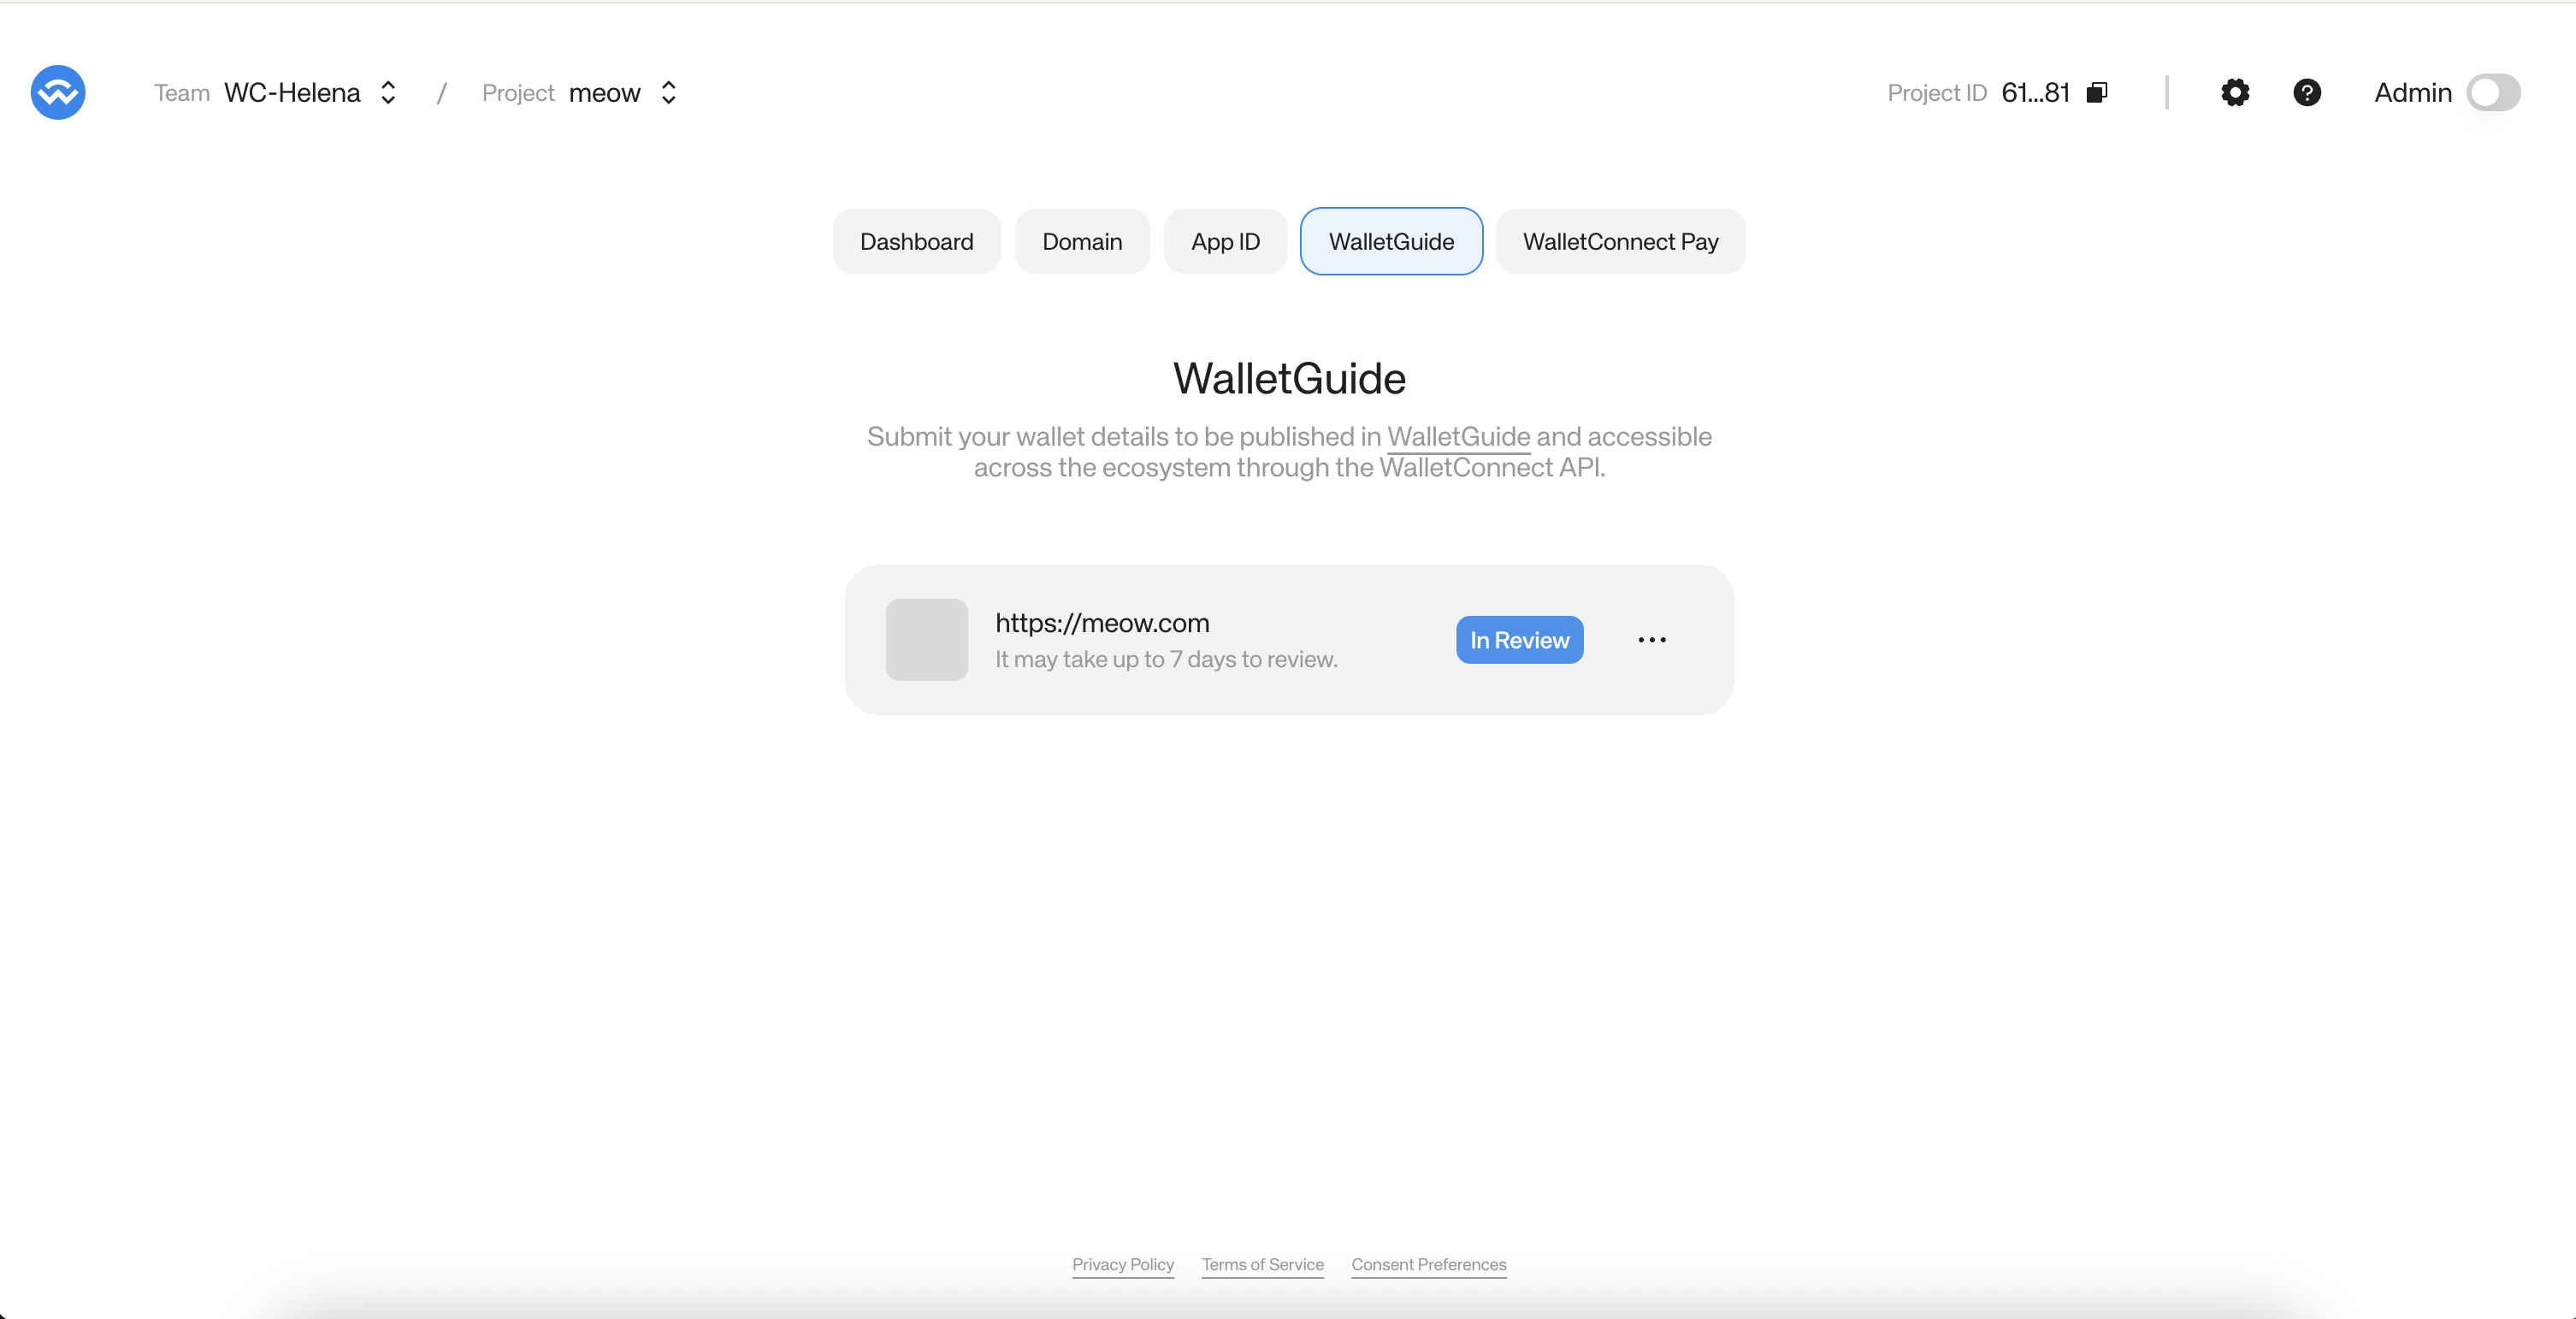 If your submission was not accepted, you can make the necessary changes and resubmit your project for review. The reason for rejection will be mentioned in the email and in the WalletGuide tab of your project.
In case of any questions, feel free to ask on [Github Discussions](https://github.com/orgs/WalletConnect/discussions/categories/explorer-support)
If your submission was not accepted, you can make the necessary changes and resubmit your project for review. The reason for rejection will be mentioned in the email and in the WalletGuide tab of your project.
In case of any questions, feel free to ask on [Github Discussions](https://github.com/orgs/WalletConnect/discussions/categories/explorer-support)