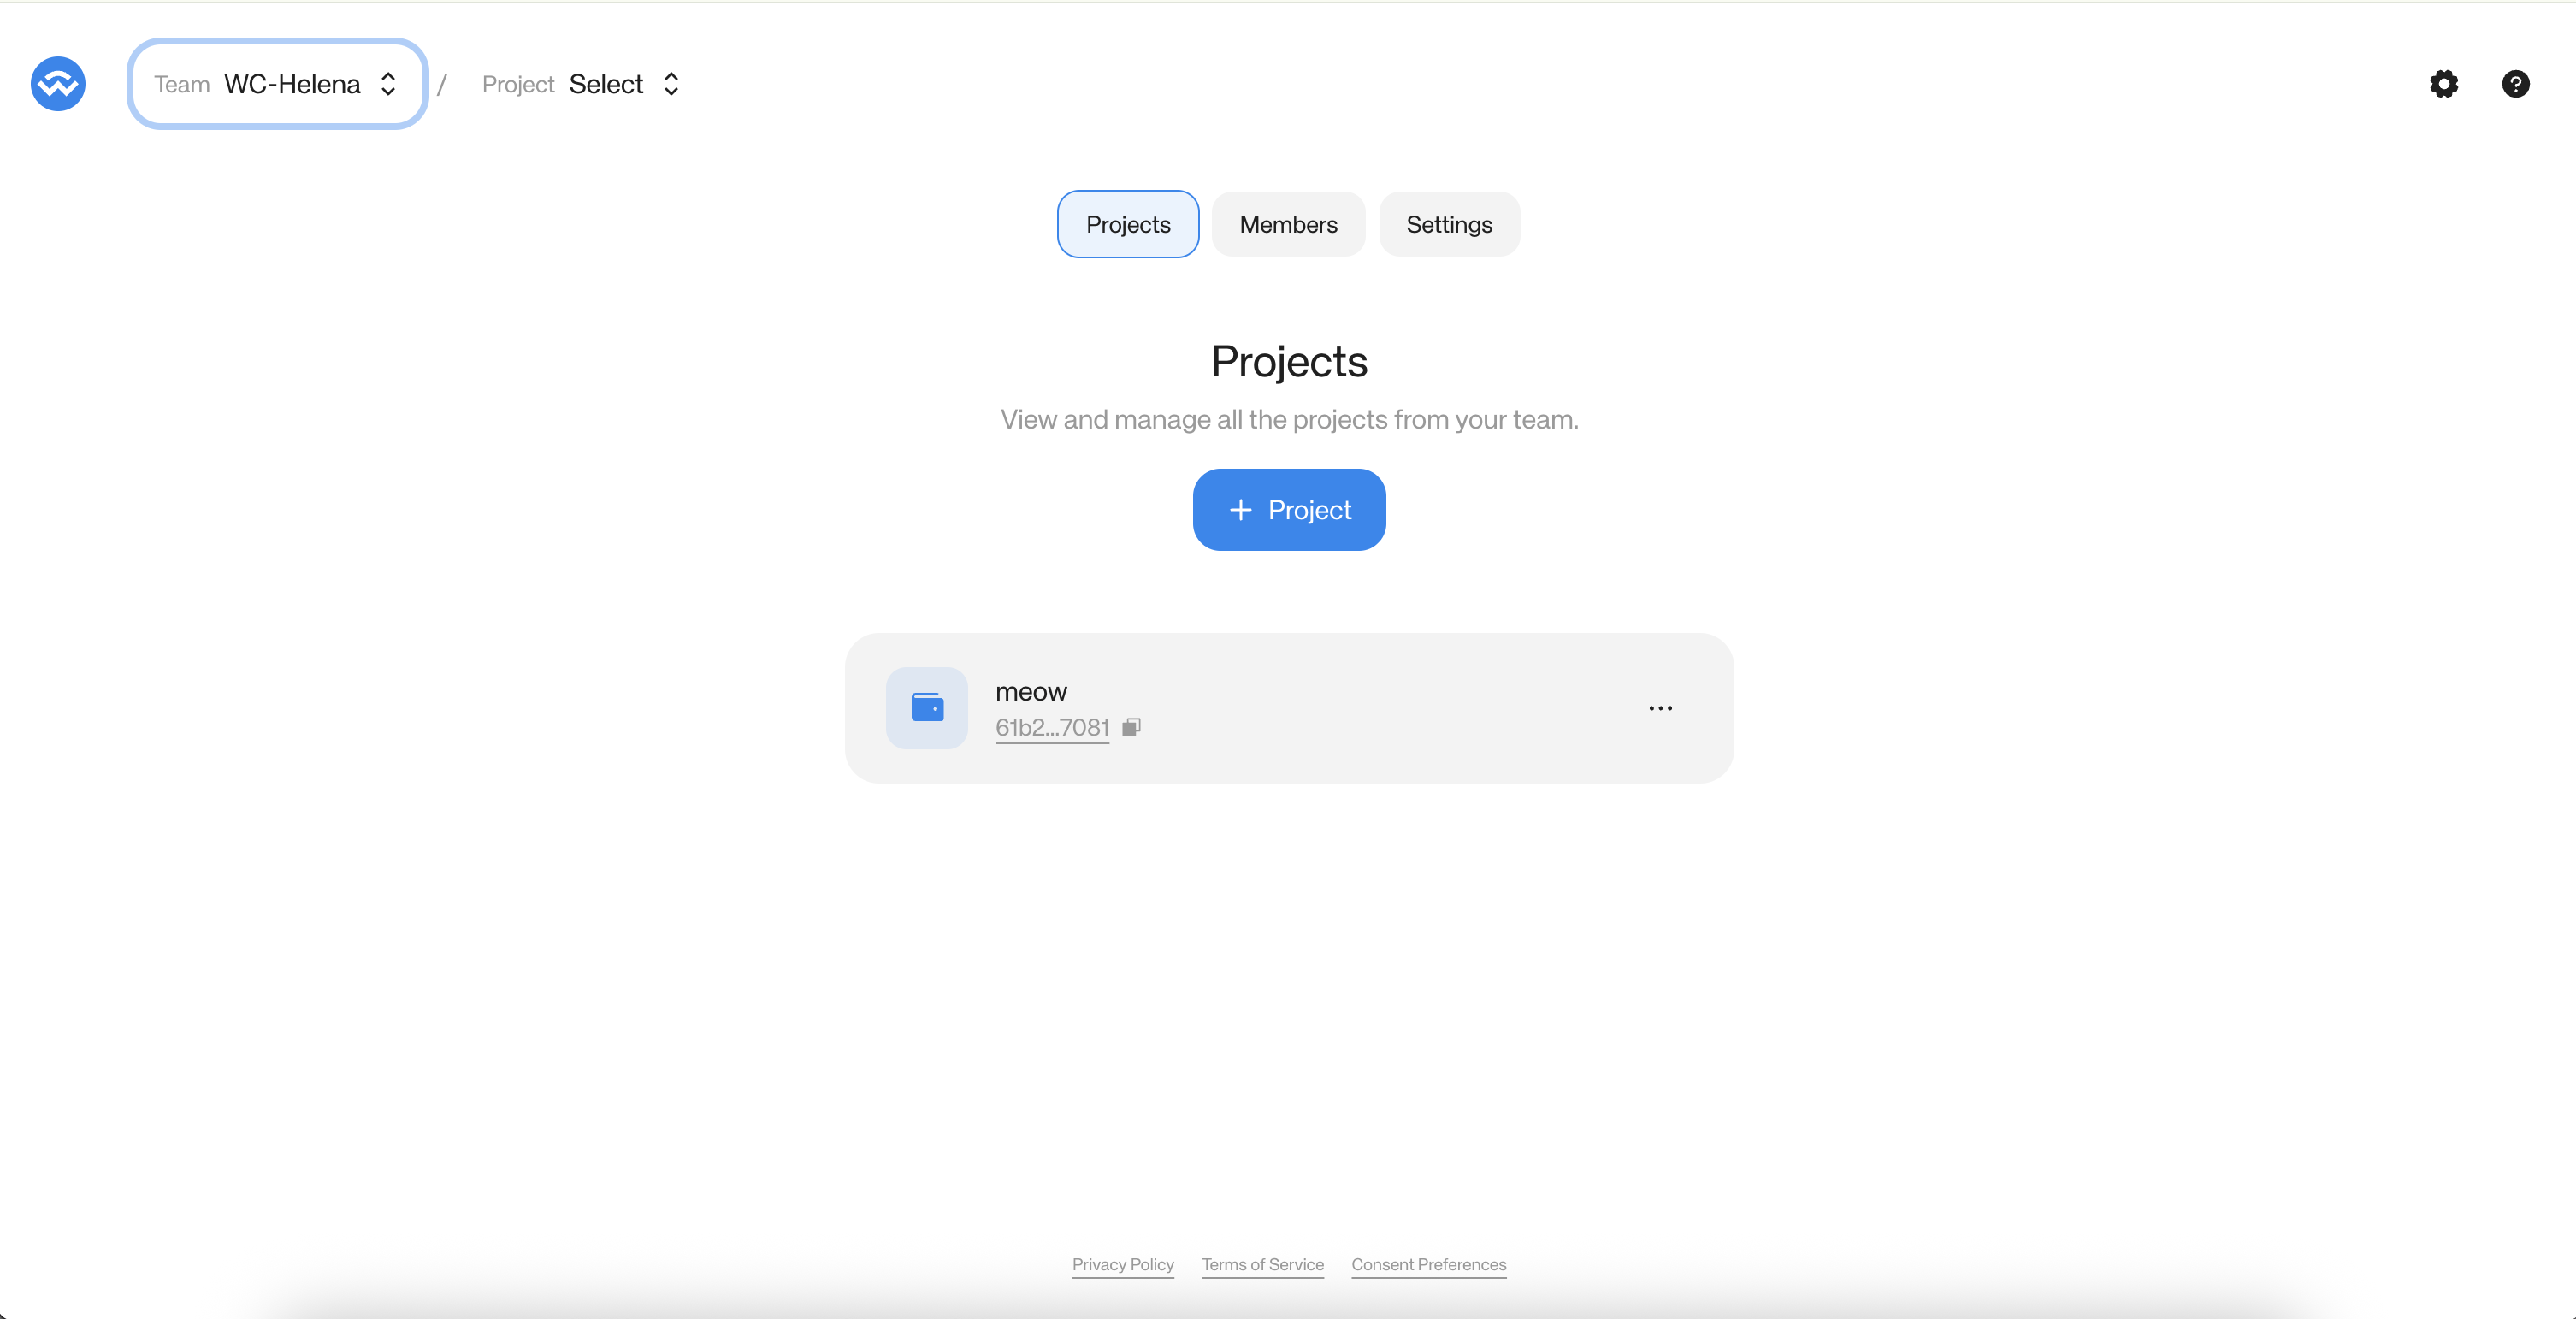
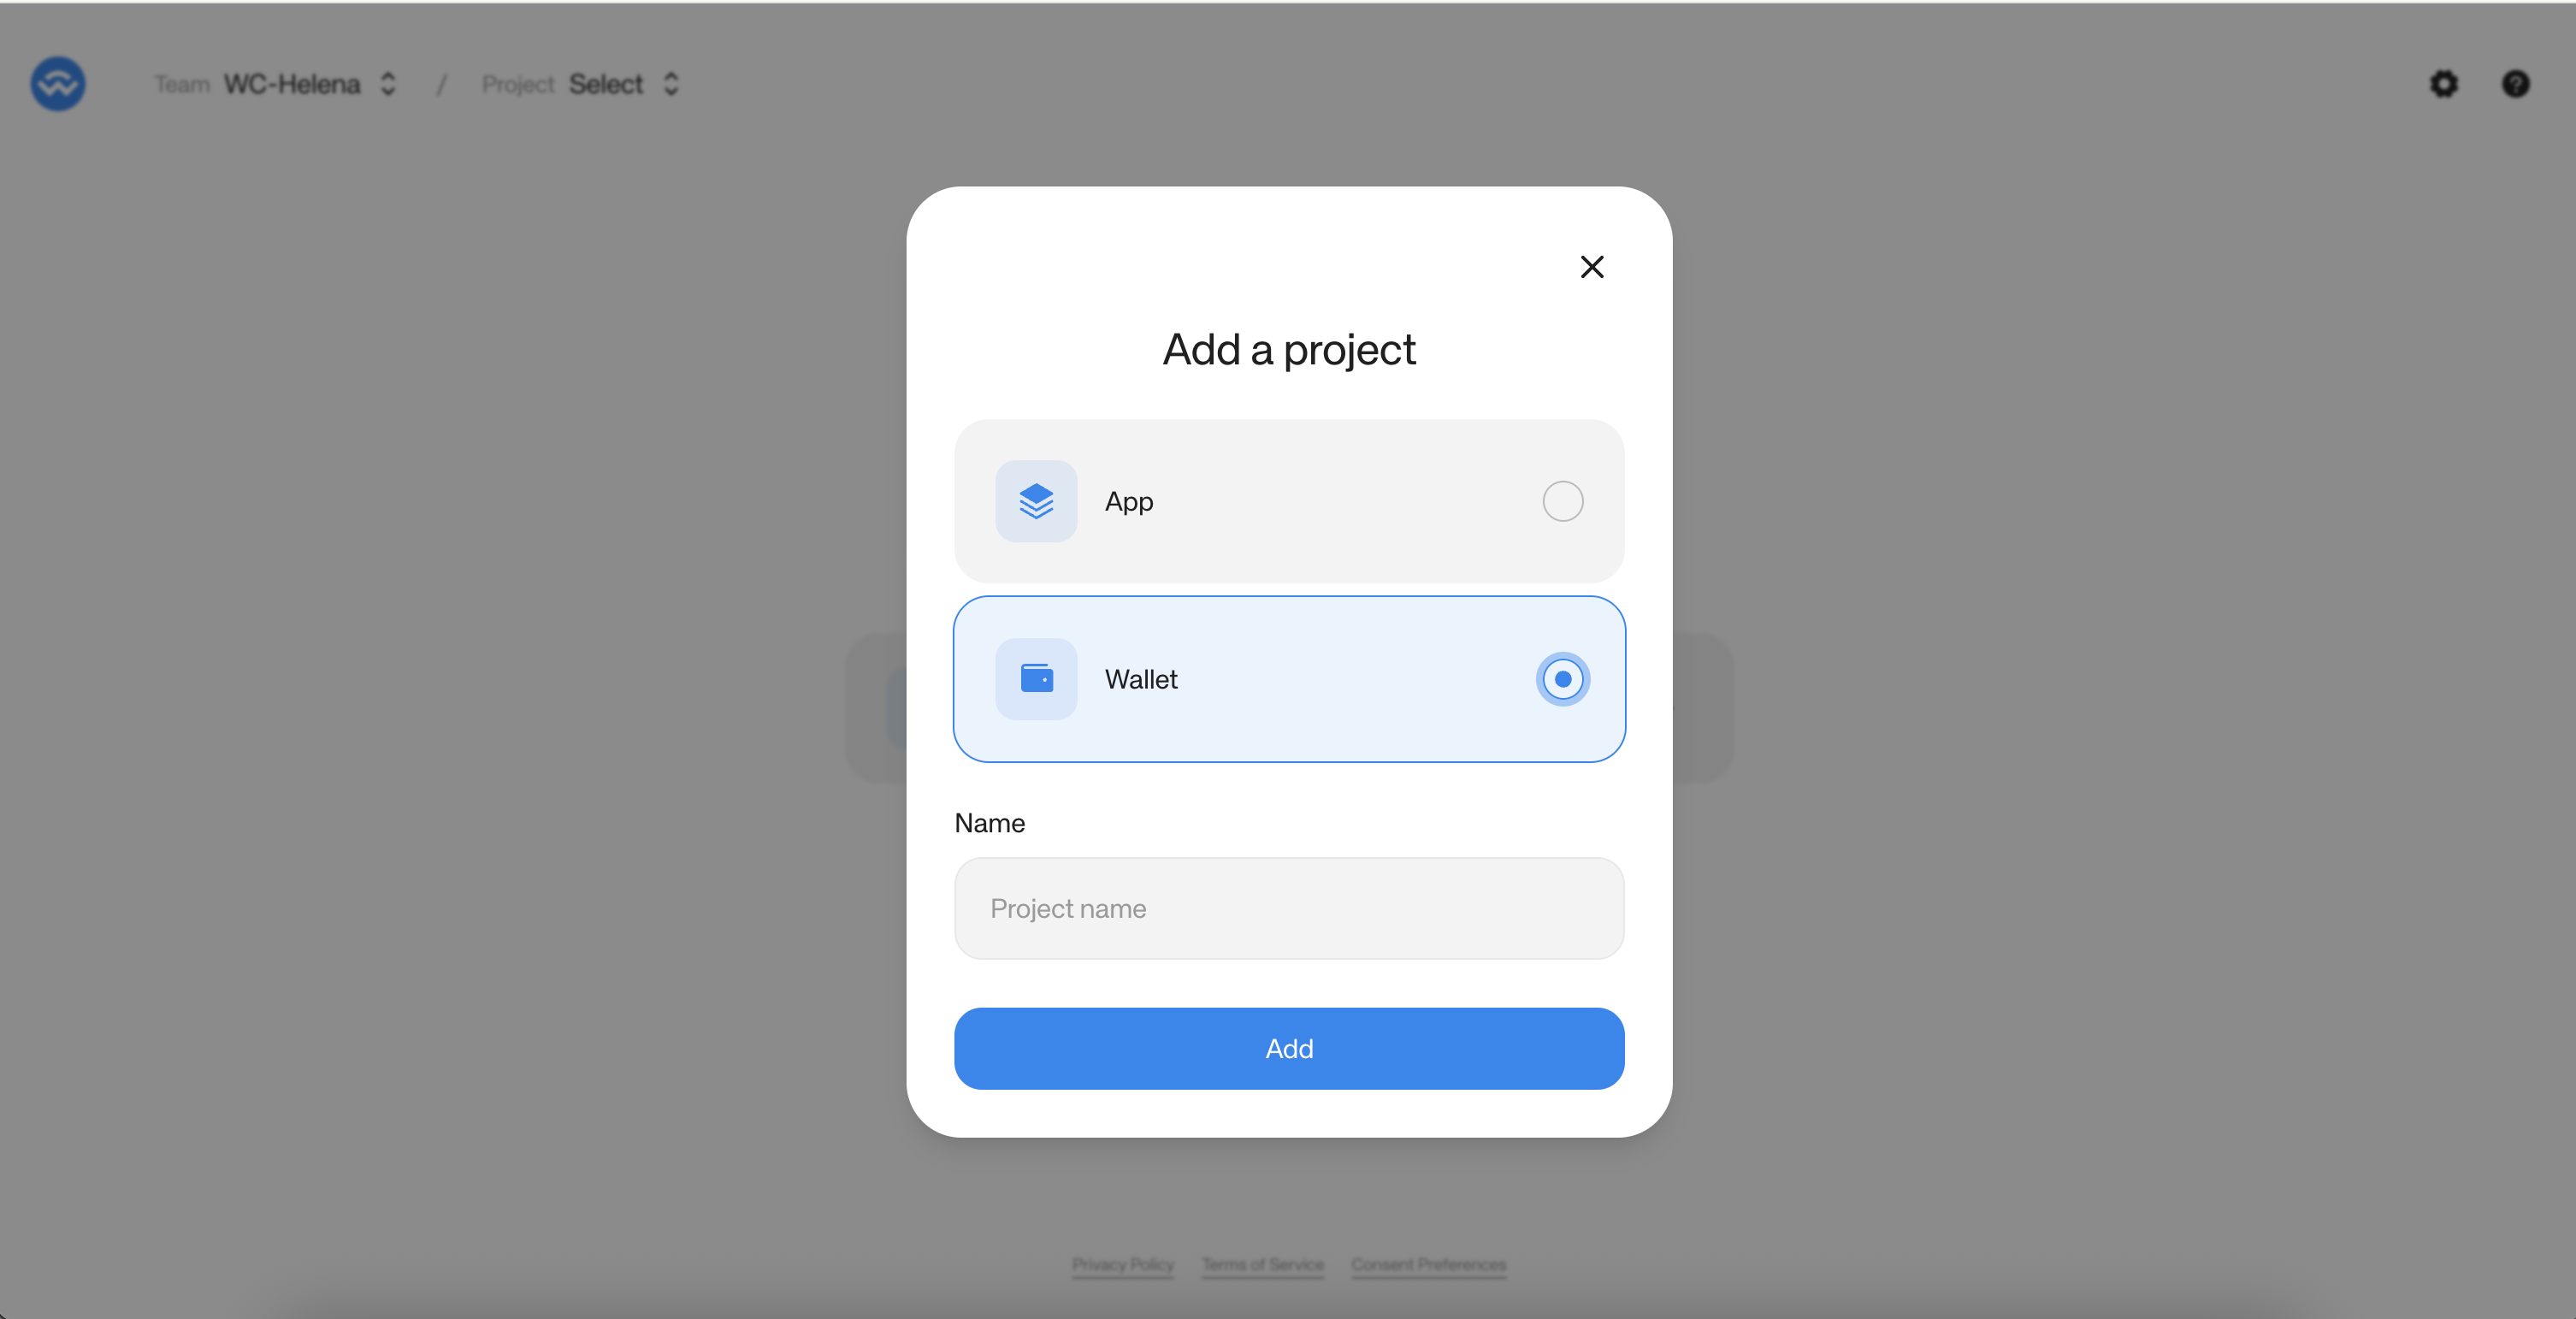
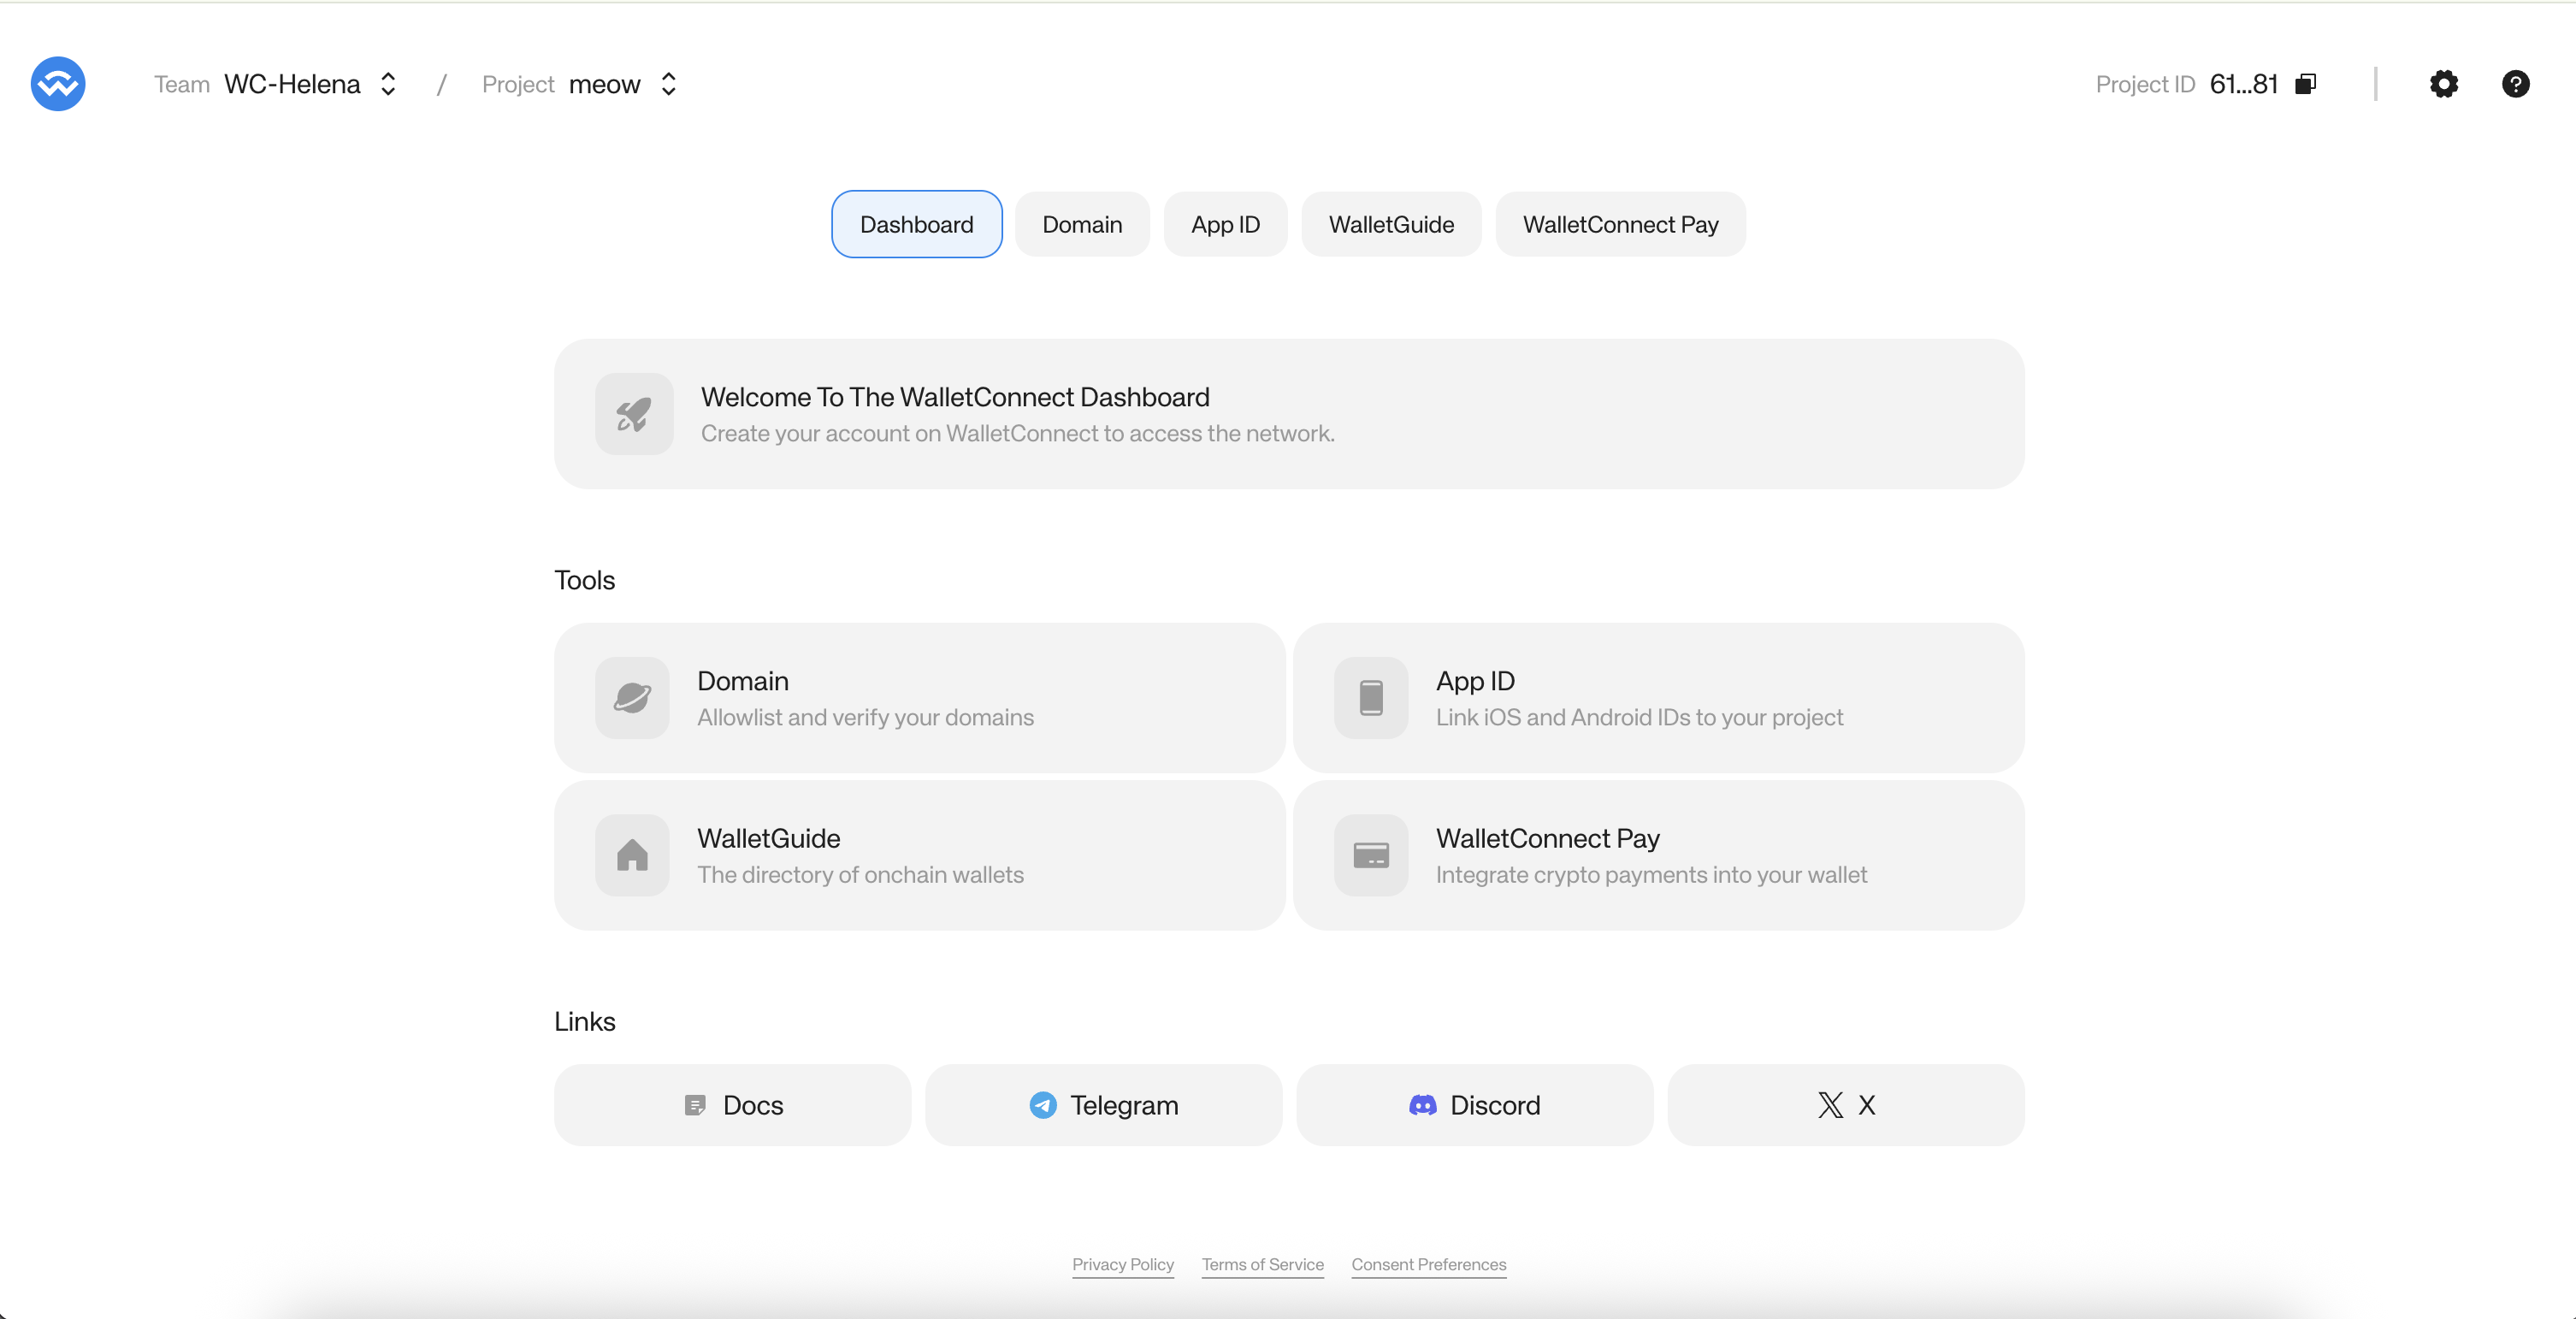
| Set Up | 1. Download the wallet
2. Install the wallet app
3. Sign up for an account with the wallet app
4. Create one or more accounts | 1. N/A
2. The app is installed
3. I have an account
4. I have one or more accounts |
| Connect to dapp via web browser | 1. Open the Reown connection page https://appkit-lab.reown.com/ from a PC
2. Press on the “Connect Wallet” button and select the Reown option.
3. Open the wallet app and use the scan QR option to connect.
4. Accept on the wallet the connection request | 1. The app has been correctly set-up
2. A modal with wallet options is opened
3. A QR code is shown on the website and the wallet is able to scan it.
4. The connection is successfully established. The wallet data is now shown on the website. |
| Connect to dapp via mobile browser (Deep-link) | 1. Open https://appkit-lab.reown.com/ in your mobile device.
2. Select one of the default options (e.g. Wagmi for EVM chains). Press the “Custom Wallet” button from the navbar. Fill in the wallet’s name and its deeplink (Mobile Link) in the “Add a Custom Wallet” form. Press “Add Wallet”. After the website reloads, press the “Connect Wallet” button and select the newly created wallet.
3. Accept the connection request in the wallet application. | 1. N/A
2. A form should show up on the website to fill in the wallet’s data. After the changes are applied, the modal should show the newly created wallet on the main view.
3. The user should be redirected to the wallet application and a modal with a connection request should show up on the wallet application. The wallet should connect successfully. On Android devices, the user should be redirected back to the website after accepting the connection request. |
| Switch chains - dapp side | 1. Once the wallet is connected, press on the modal button on the top right of the website.
2. Press the first button of the modal to switch the chain.
3. Select any available chain, close the modal, and press the “Send Transaction” button | 1. A modal with the account information should pop up on the website.
2. A new view with supported chains should show up.
3. The transaction request that pops up on the wallet should show in their information the correct chain that was previously selected. |
| Switch Chains - wallet side (if supported) | 1. Check if the wallet supports chain switching. If so, select a different chain from the connected one. | 1. The chain change should be reflected on the website. The first card shows the current chain ID. |
| Accounts Switching - wallet side | 1. In the wallet app, switch from one account to another. | 1. The account switch event should be reflected in the modal’s account view on the website. |
| Disconnect a wallet | 1. Select the “Disconnect” button from the Wallet App (Ideally, wallets should have a section where users can see all their existing dApp connections and manage/disconnect from dApps in one spot—this is not always true, so if not possible, just skip this).
2. Repeat the above steps and press the “Disconnect” button from the dApp (this should always be available). | 1. The related session should disappear from the dApp and the Wallet App.
2. The related session should disappear from the dApp and the Wallet App. |
| Verify API | 1. Open https://malicious-app-verify-simulation.vercel.app/
2. Select a supported chain by the wallet (some wallets don’t support testnets) and press the “Connect” button.
3. Scan with the wallet the generated QR code. | 1. N/A
2. A modal should show up with a QR code to scan.
3. The connection request in the wallet should flag the website as malicious. |